Soraso AR User Guide
1. Overview
The Soraso AR module manages all Accounts Receivable operations including contract billing, invoicing, payment tracking, and aging reports. It provides full support for city ledger transactions, credit management, and financial document generation. The system ensures accurate tracking of receivables through automated and manual workflows with audit-ready logs. AR reports can be exported in various formats to support reconciliation and decision-making.
2. Login Web Soraso
This function allows authorized users to log in to the Soraso web system and access the ARS (Accounts Receivable System) module by selecting the correct Business Unit (BU).
To perform the task:
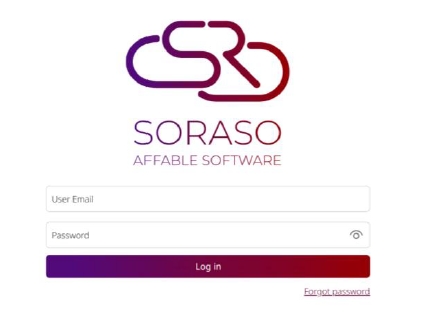
- Go to the Soraso login page.
- Enter your Username, e.g., Staff@smartfinder.asia.
- Enter your Password, e.g., Password111.
- Click the Login button.
- After logging in, select the Business Unit (BU) from the dropdown list.
- Choose "ARS" as the system module to proceed.
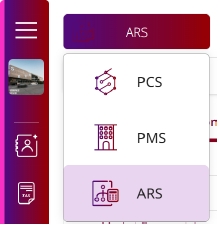
Note: The module access is permission - based. Only users with ARS access will see the ARS option.
3. Contract Information
This section allows users to view and manage contract-related financial configurations such as credit terms, templates, and deposit & guarantee information.
To perform the task:
- After logging into ARS, select the menu Contract Profile Center.
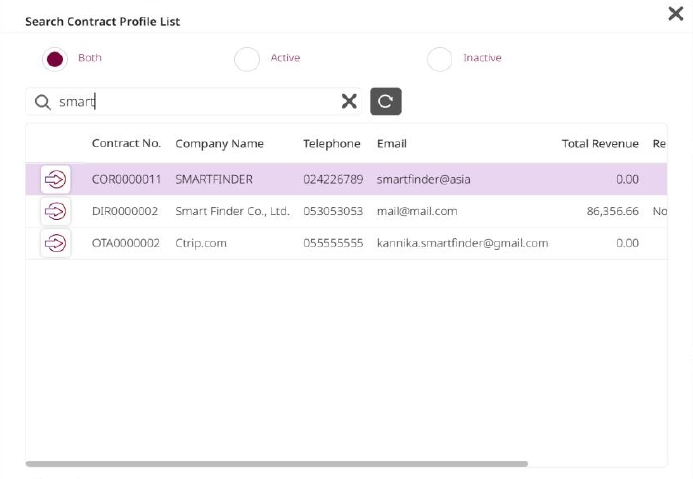
- Search for a contract using keyword or filters, or manually select a contract from the list.
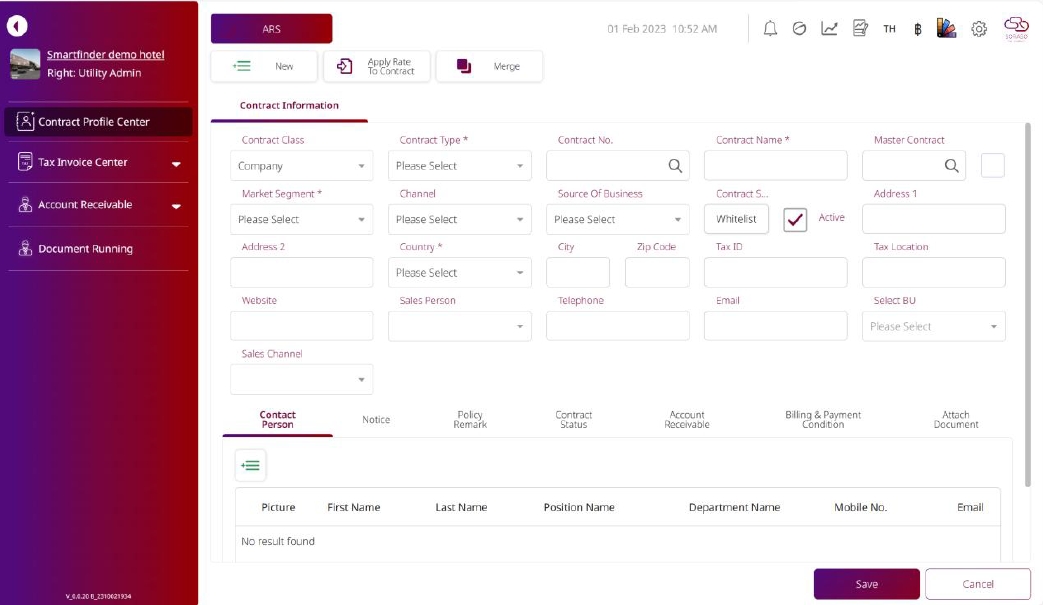
- Click the desired Contract Number to open the Contract Profile.
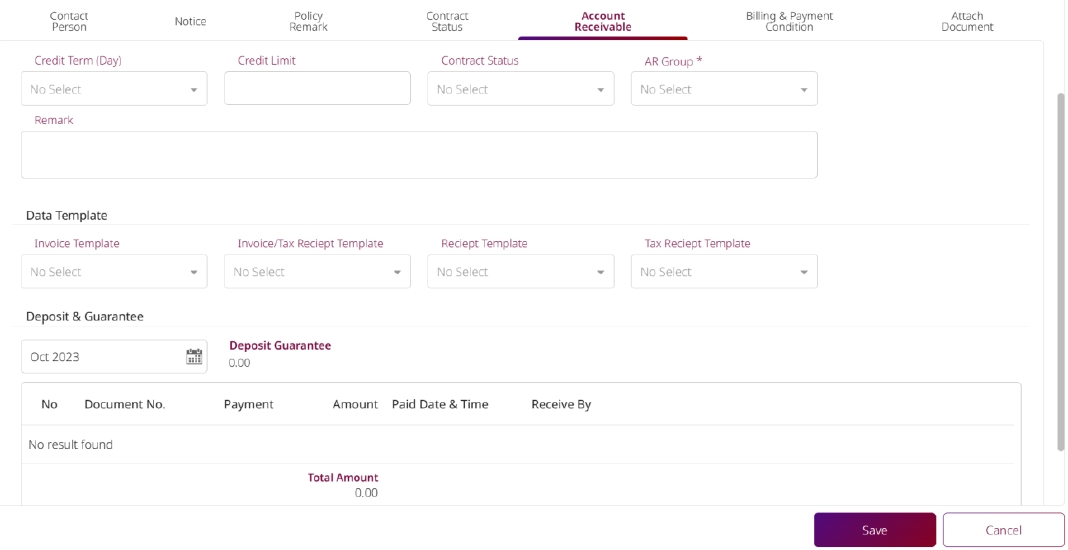
- Click on the Account Receivable tab.
- Input or review the following fields: Credit Term Day, Credit Limit, Contract Status, AR Group, Remark.
- Scroll to the Data Template section and set: Invoice Template, Invoice/Tax Receipt Template, Receipt Template, Tax Receipt Template.
- View Deposit & Guarantee information if available.
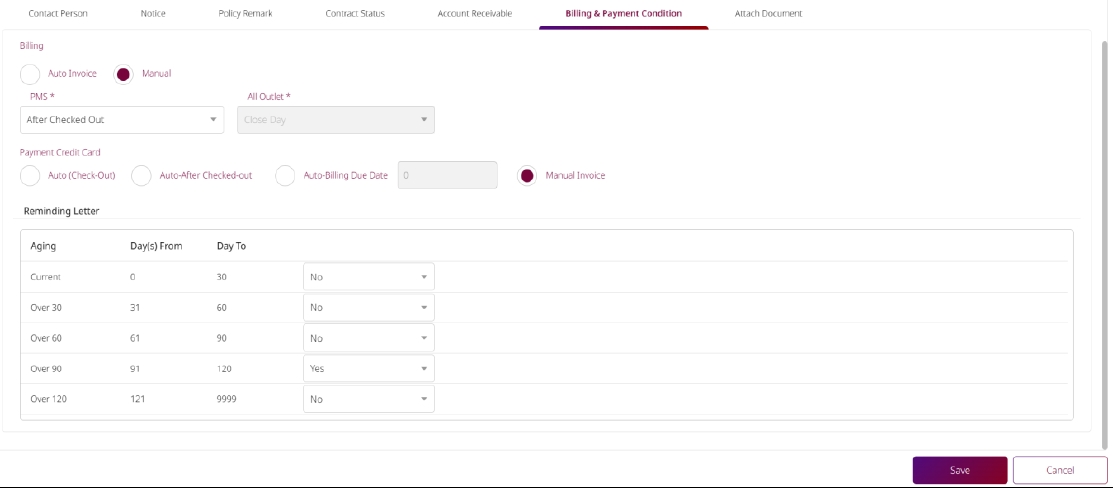
- Click on the Billing & Payment Condition tab and configure invoice/payment settings.
- Set Reminding Letter aging periods (e.g. Current, Over 30, Over 60, etc.).
- Click on the Attach Document tab and upload necessary files.
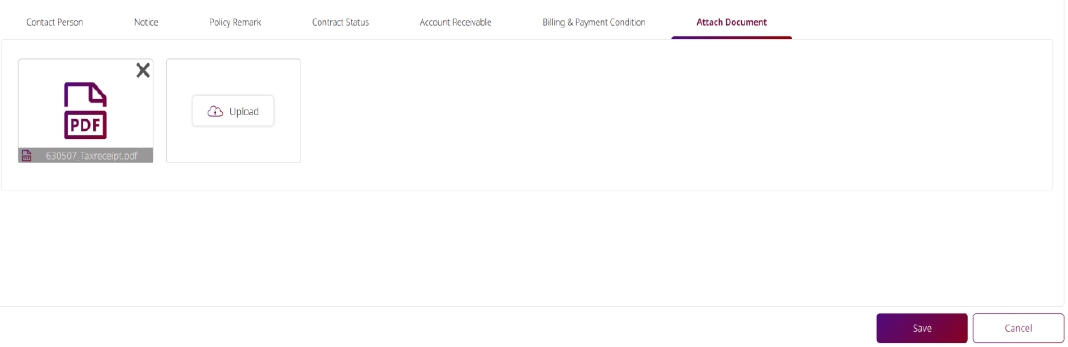
- Click Save or Cancel as required.

Note: Ensure templates are correctly mapped to avoid errors in document generation.
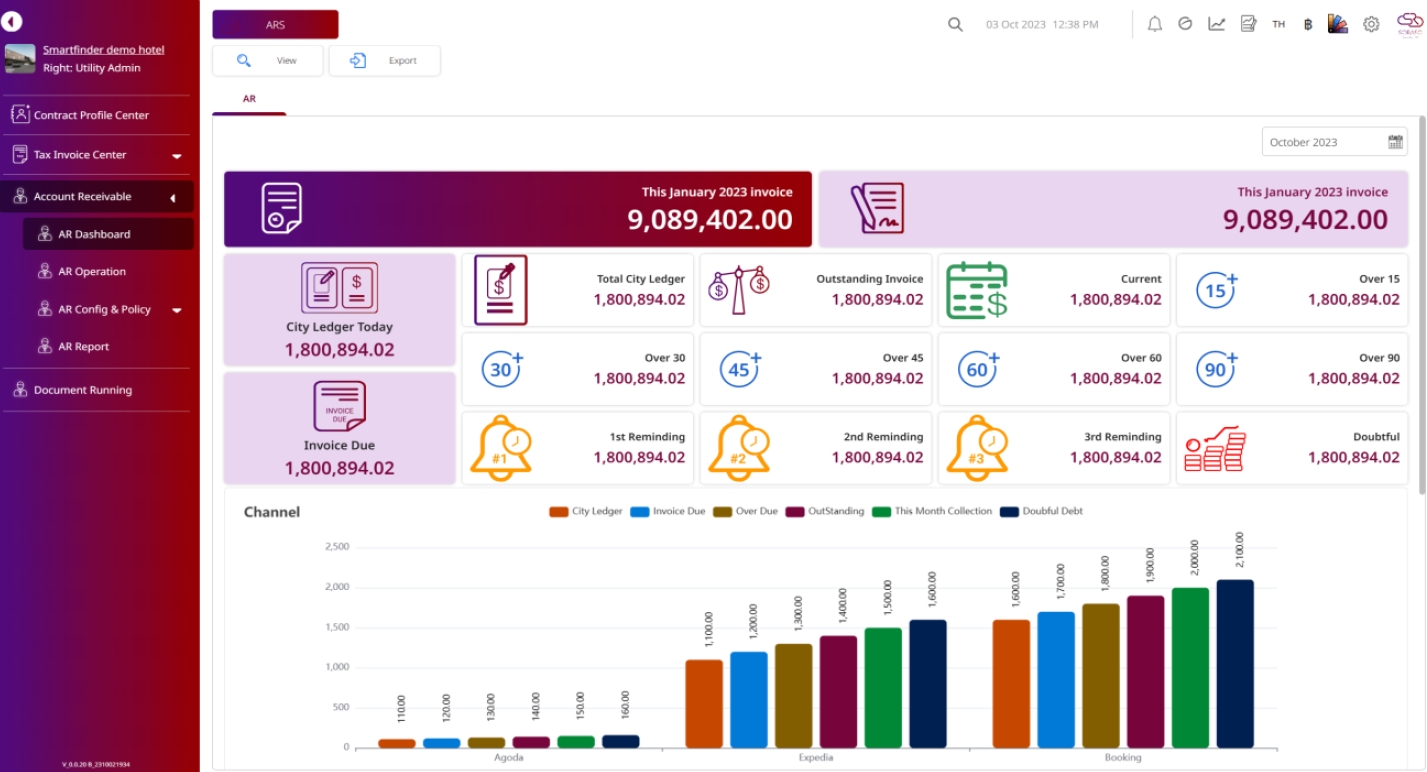
4. Account Receivable
This menu provides access to key AR tools including AR Dashboard, AR Operation, and contract-level actions.
To perform the task:
- Click on the Account Receivable tab from the main menu.
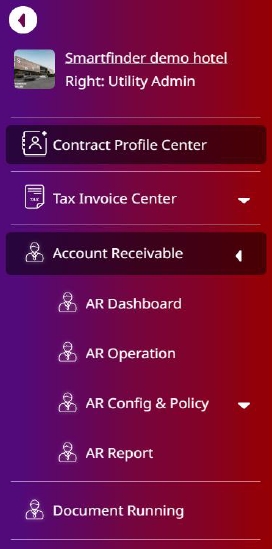
- Navigate to the AR Dashboard tab to view summary data and metrics.
- Select the AR Operation tab to perform transaction-level operations.
- Within AR Operation, select Press Contract to view associated data for city ledger and transactions.
Note : Ensure correct contract is selected before proceeding.
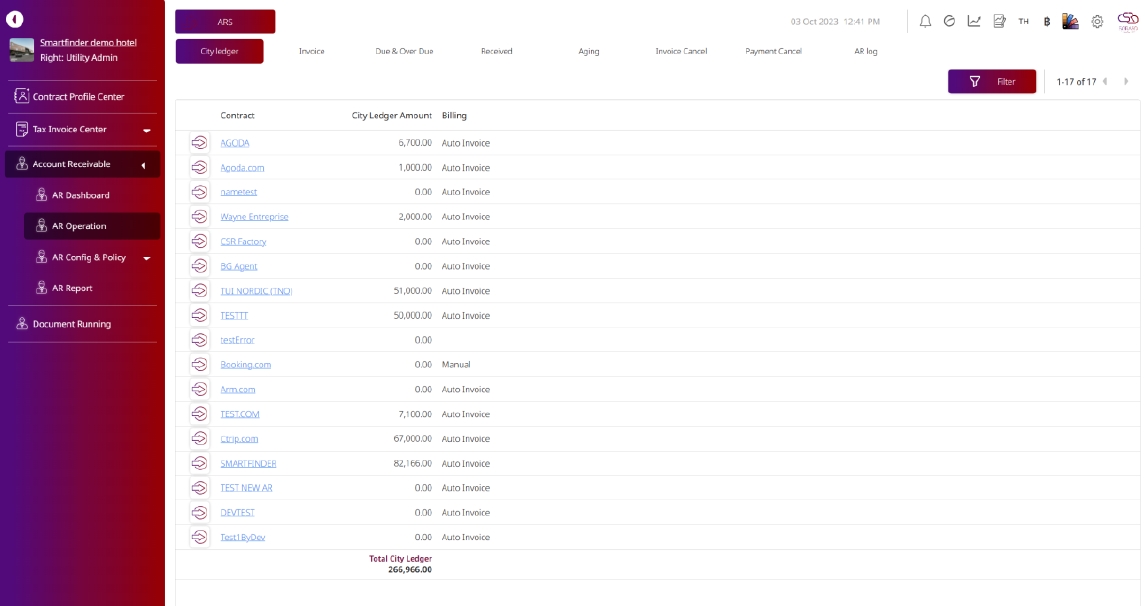
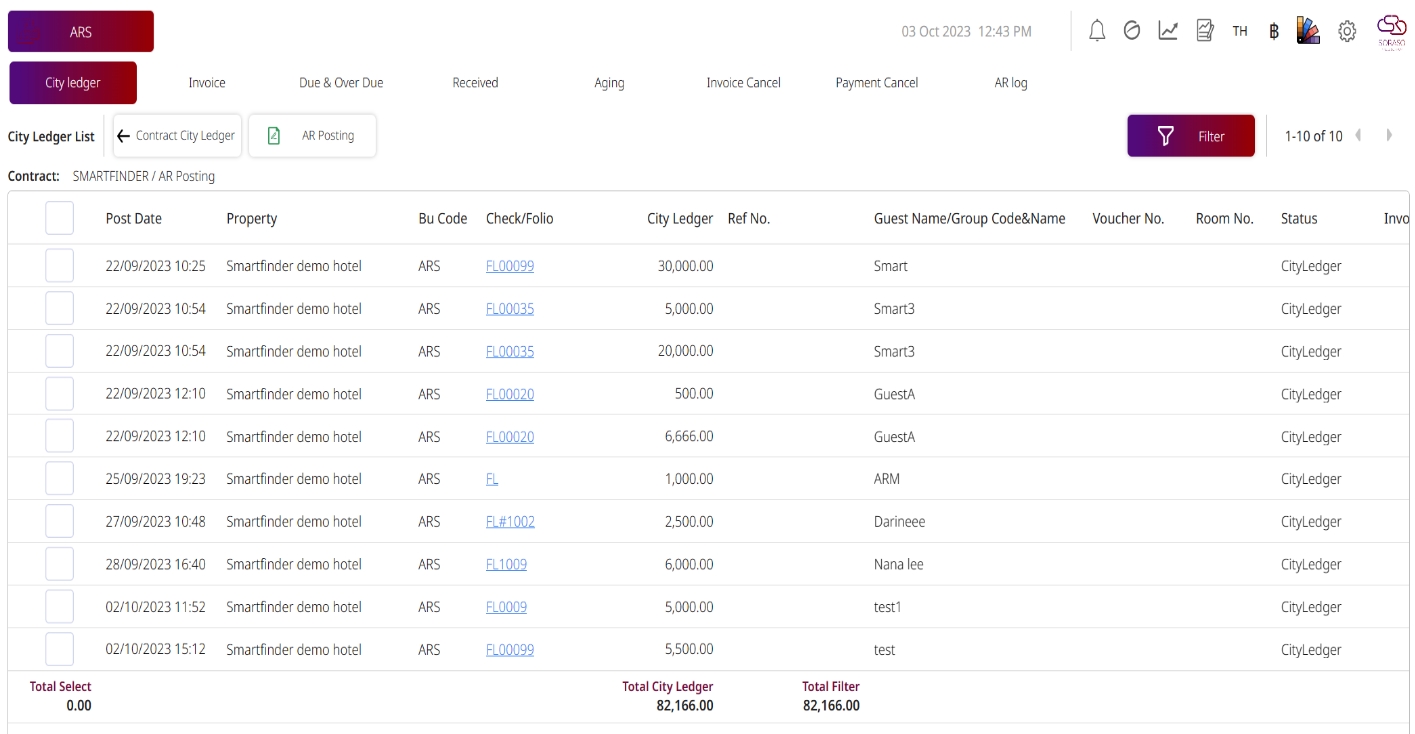
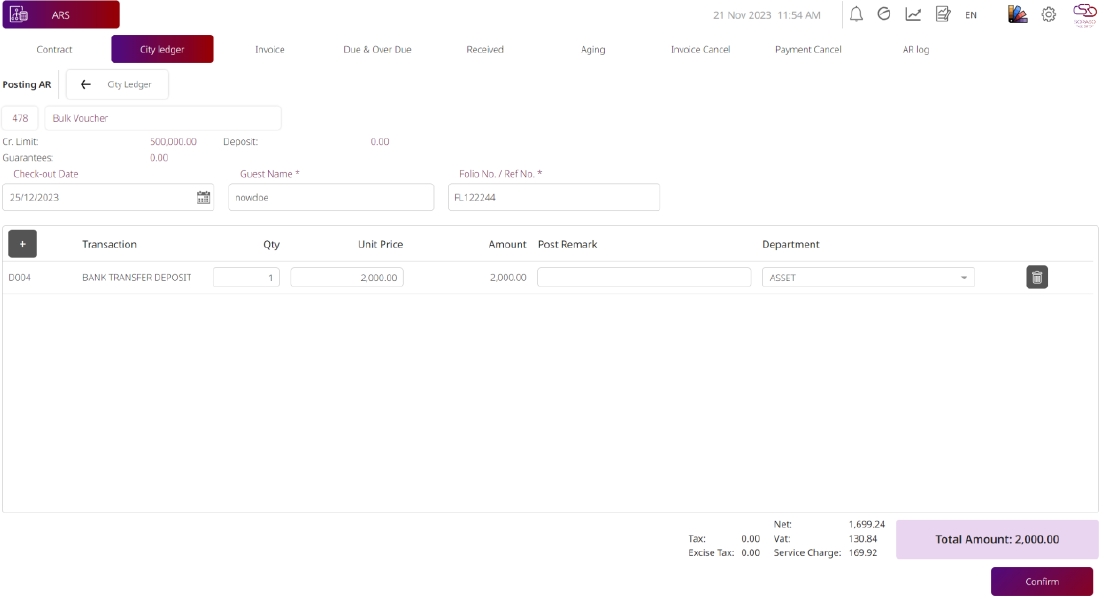
5. City Ledger
This function enables users to post, edit, confirm, or void City Ledger transactions either manually or via auto interface from the Soraso PMS/POS system. It also supports invoice generation and deposit/payment handling.
To perform the task:
- Click City Ledger from the AR menu.
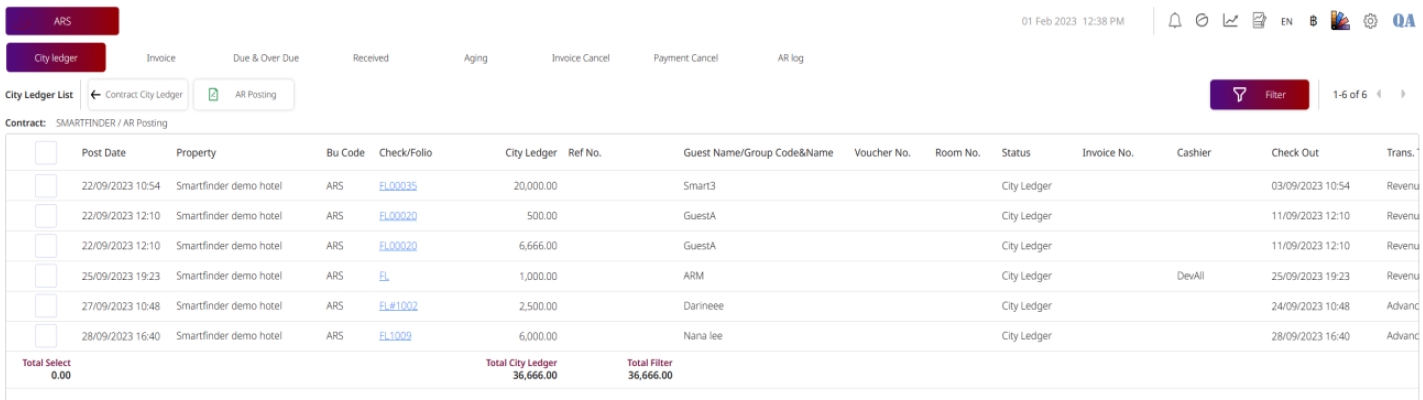
- Click AR Posting.
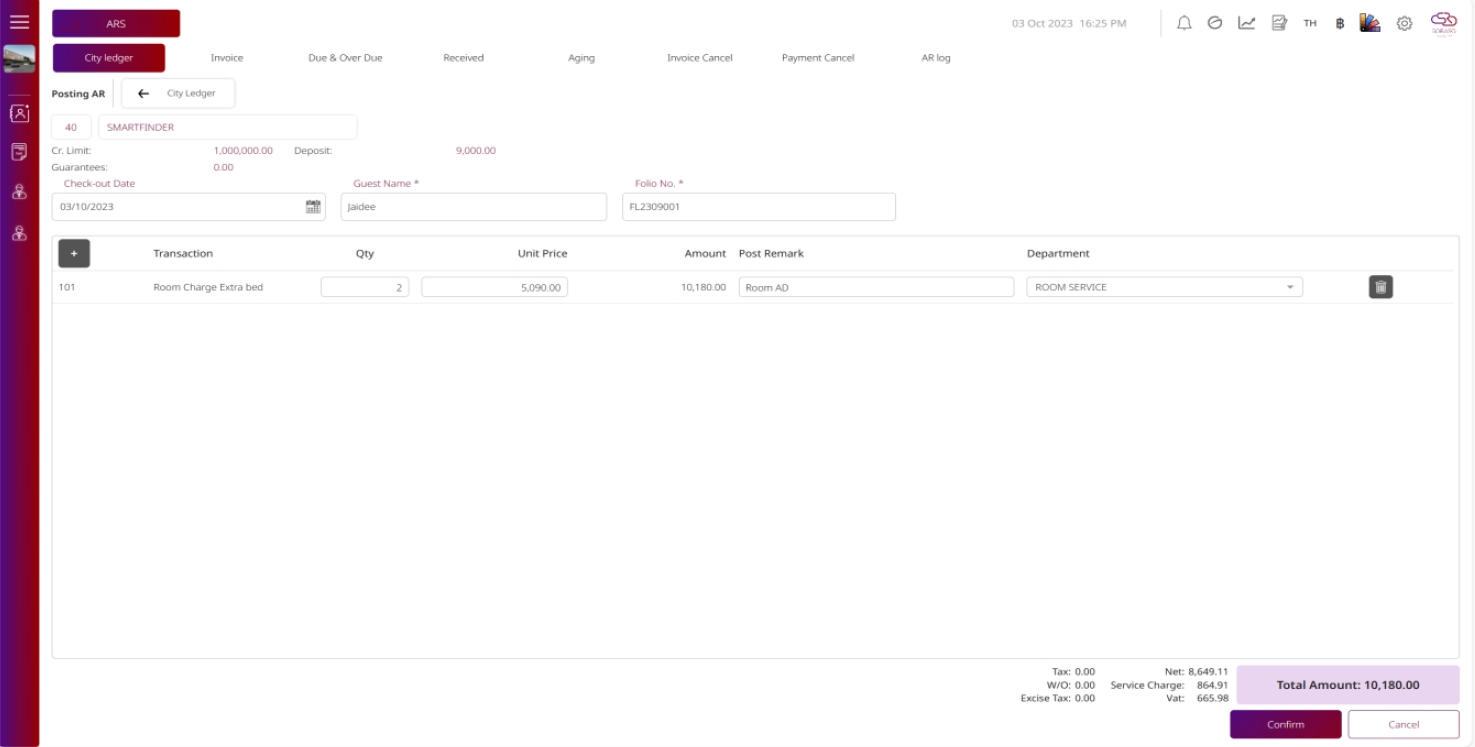
- Select the Check-Out Date using the calendar.
- Enter Guest Name and Folio No.
- Click Add + to add transaction details including Qty, Unit Price, and Remark.
- Use Edit or Remove if needed.

- Click Confirm & Deposit – data will move to Invoice page.
- Click Confirm & Payment – system redirects to Payment page.
- Click Save & Gen Invoice – system generates invoice.
- Click Confirm to save transaction, or Cancel to discard.
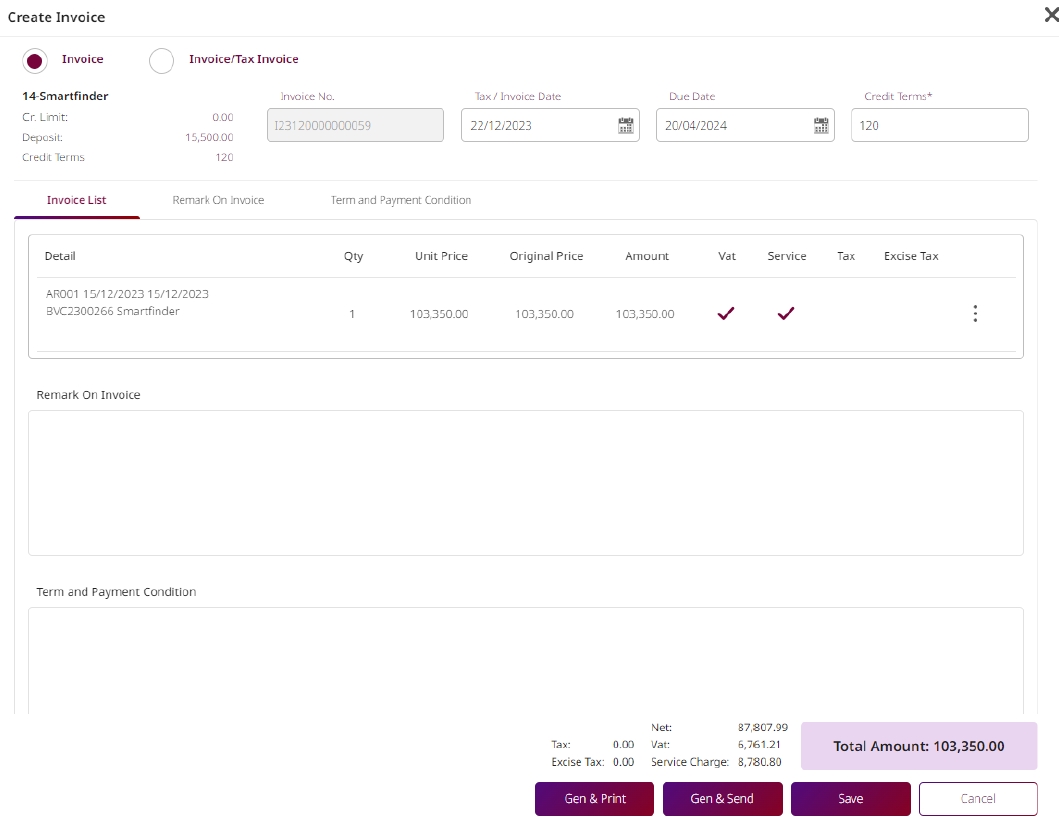
6. Auto Billing – Auto Invoice
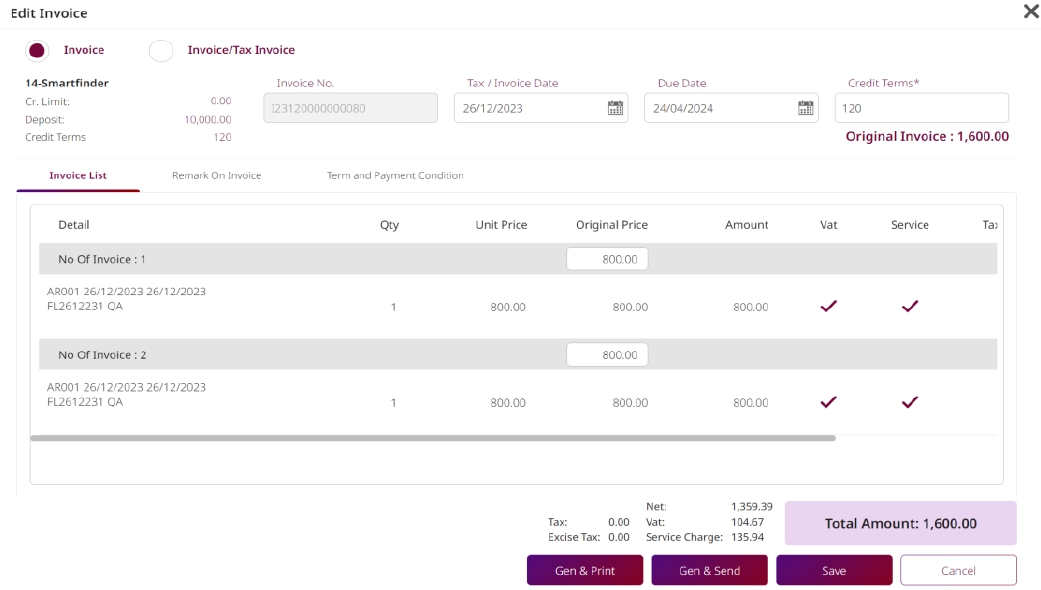
This function allows users to automatically generate invoices based on City Ledger data from PMS/POS systems. Users can review, edit, and process invoices with options to split rows, print, send via email, and handle deposit-related payments.
To perform the task:
-
Select the Gen Invoice button.
1.1 Select the invoice type: Invoice or Invoice/Tax Invoice.
1.2 Select the Invoice Date and Due Date.
1.3 Review and check transaction details:
-
View detail
-
Split row
-
Edit
-
Remove
1.4 Press Gen & Print to generate a PDF invoice.
1.5 Press Gen & Send to email the invoice to the customer.
1.6 Press Save to save the draft, or Cancel to discard.
-
Select the Deposit Guarantee button.
2.1 Input payment reference from Receipt or Tax Invoice.
- Options: Paid partial / Paid full amount
2.2 Press Payment and select the appropriate Payment Type.

-
Select the Payment button to open the payment input form again.
-
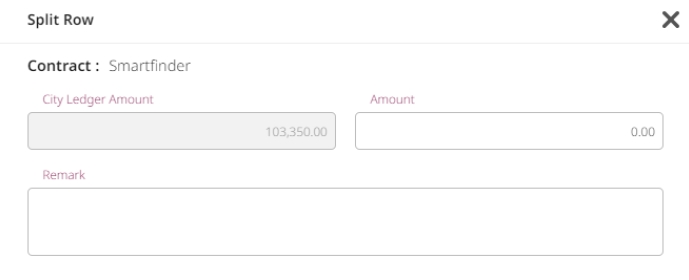
Select the Split Row button.
4.1 Enter the Amount.
4.2 Enter Remark.
4.3 Press Confirm → Data will be shown in the City Ledger page.
4.4 Press Cancel to discard the split.
- Select the Edit button.
- Edit transaction Quantity or Unit Price
- Add new transaction lines (Qty / Price)
- Press Confirm to save changes
-
Select the Void button.
- Press Void A confirmation popup will appear
6.1 Click Confirm The data will be moved to void state
6.2 Click Cancel Data will return to City Ledger page
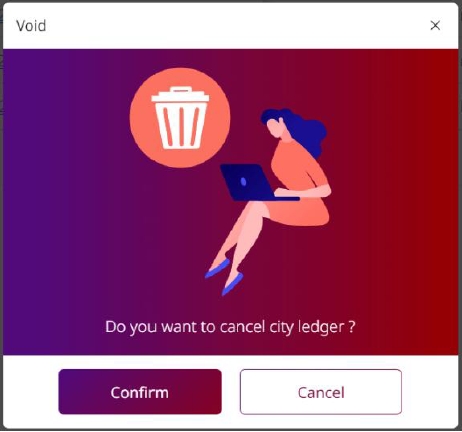
Note: Once voided, the transaction is no longer editable and moved to a separate voided state. Always verify invoice and payment details before confirming actions.
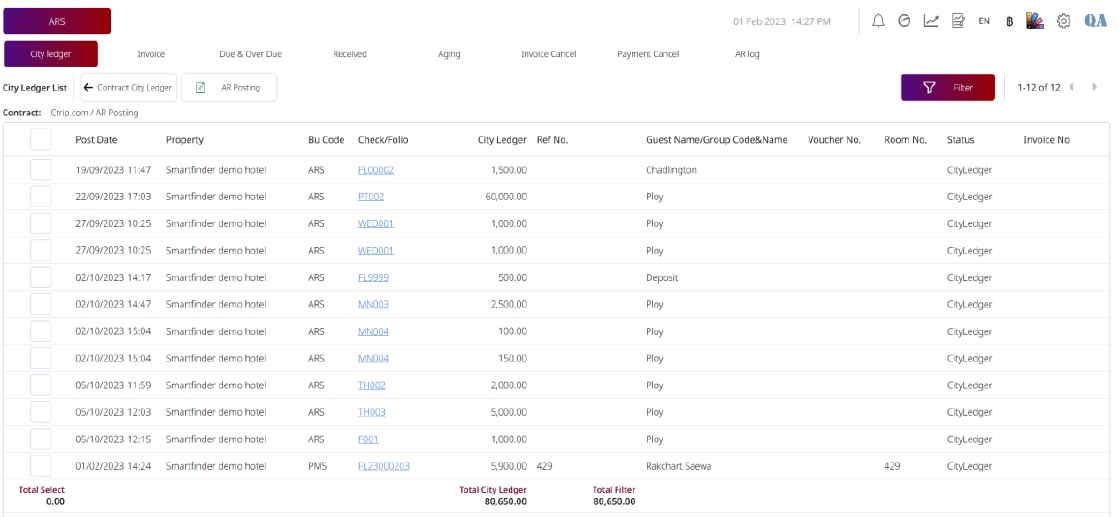
7. Invoice
This function allows users to view, generate, send, print, split, and cancel invoices and tax documents related to AR contracts.
To perform the task:
- Click Invoice tab to view all invoice/tax invoice records.
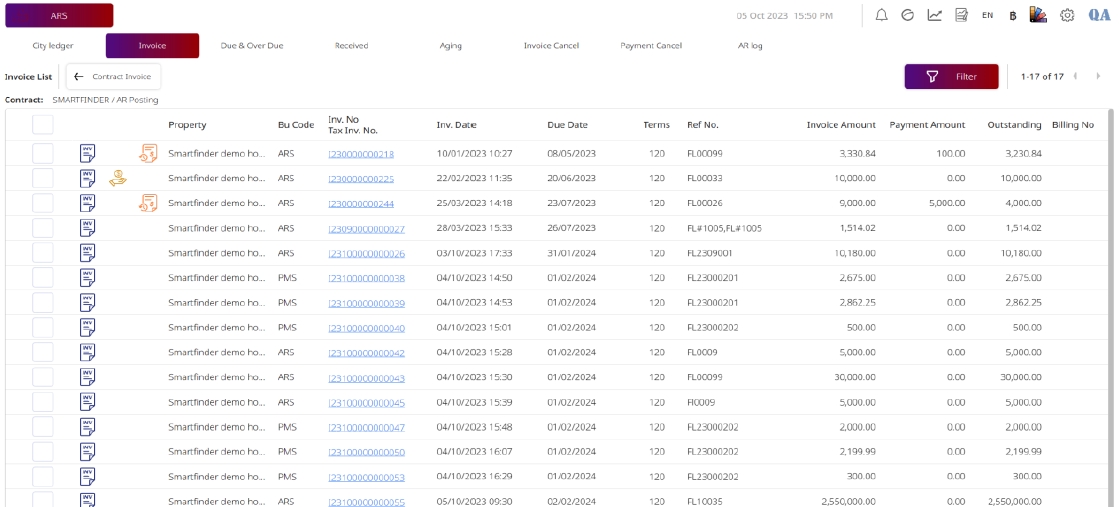
- Select one item by checkbox to activate action buttons.
- Click Print to generate PDF.
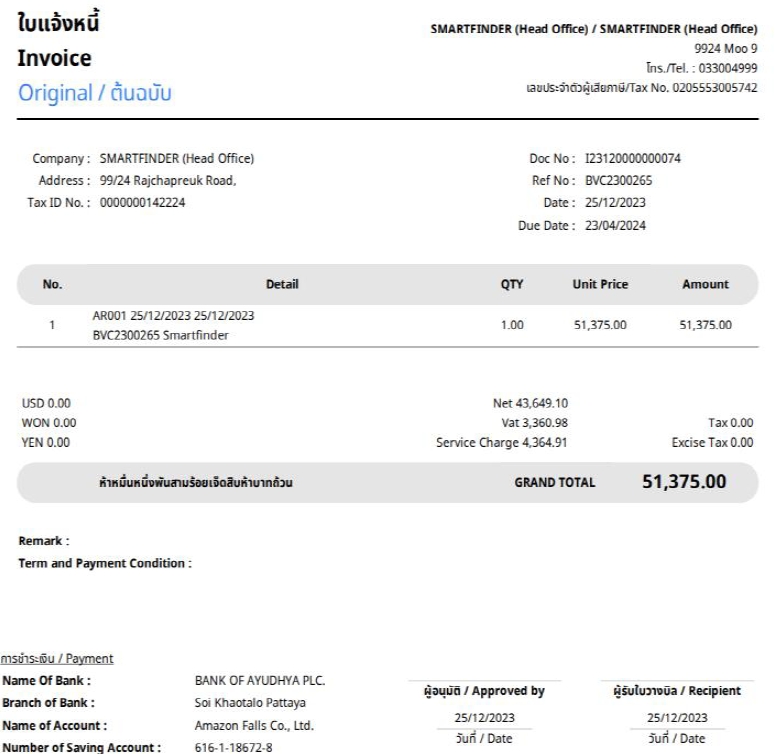
- Click Send to email invoice to Contract/Agent.
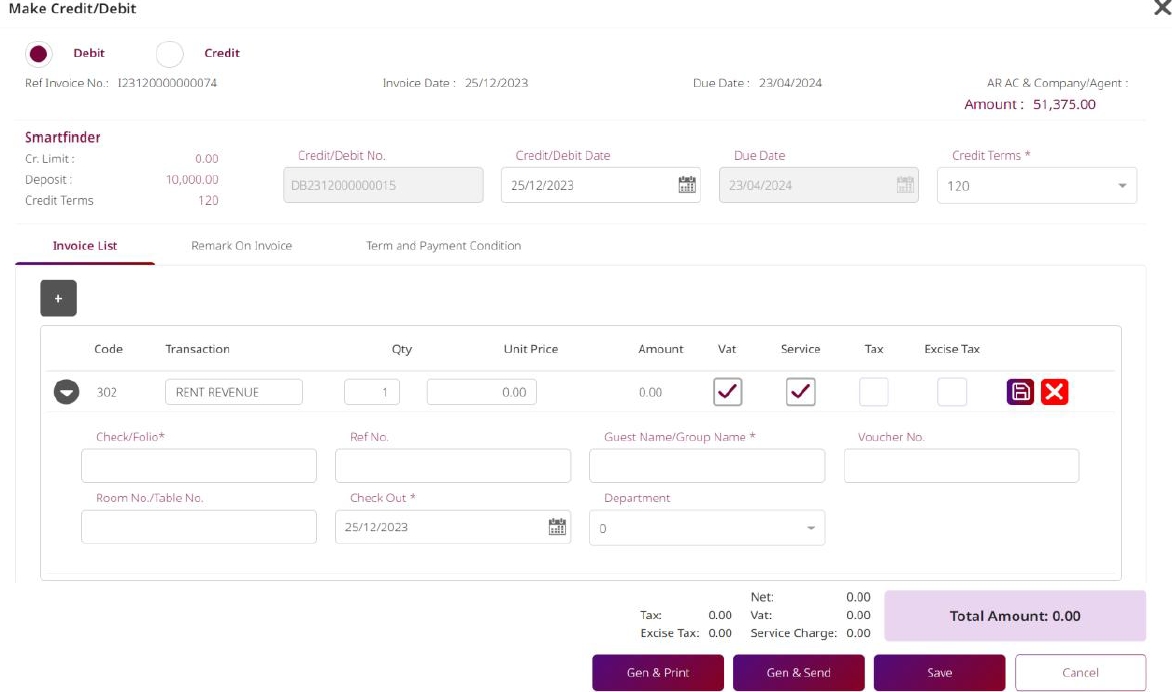
- Click Credit/Debit Note, select type, enter data, then choose Gen & Print, Gen & Send, Save, or Cancel.
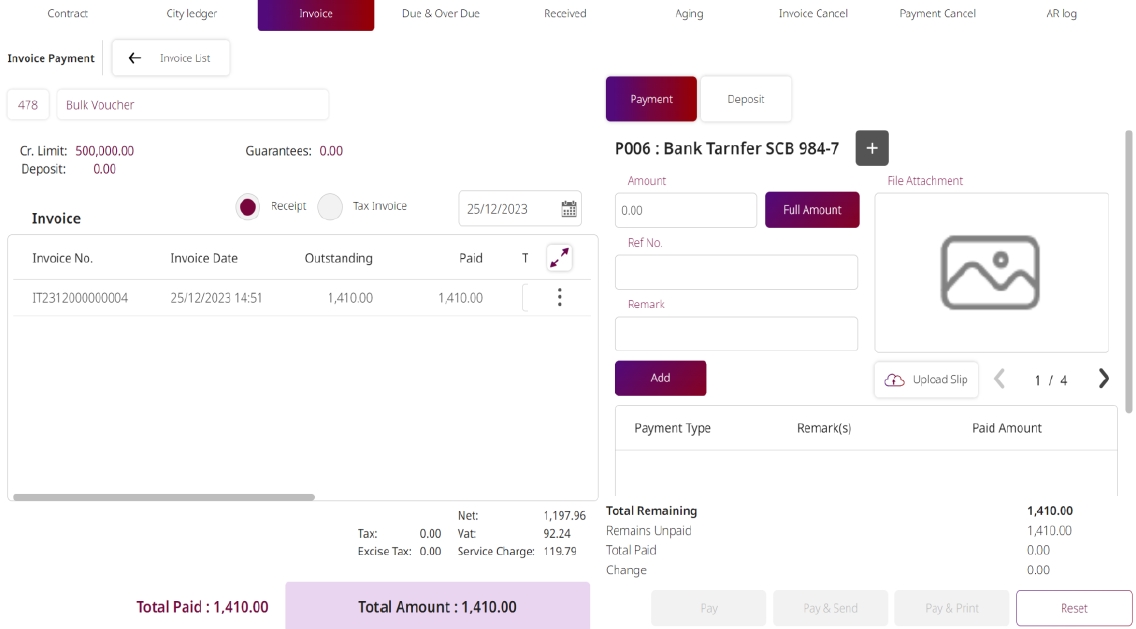
- Click Payment to open payment page. Select type, add reference, and click Pay / Pay & Send / Pay & Print.
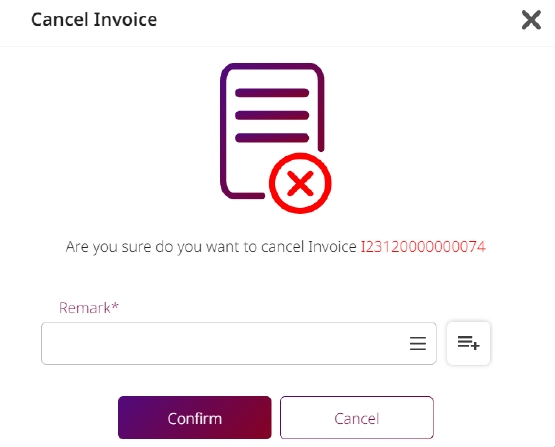
- Click Cancel Invoice, add remark, and Confirm or Cancel.
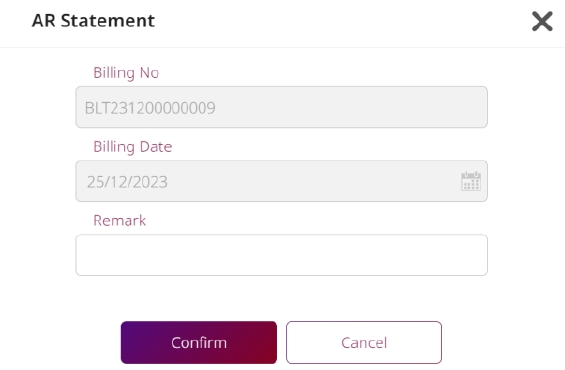
- Click AR Statement, add remark, Confirm or Cancel.
- Click Split Invoice, enter amounts, Confirm or Cancel.
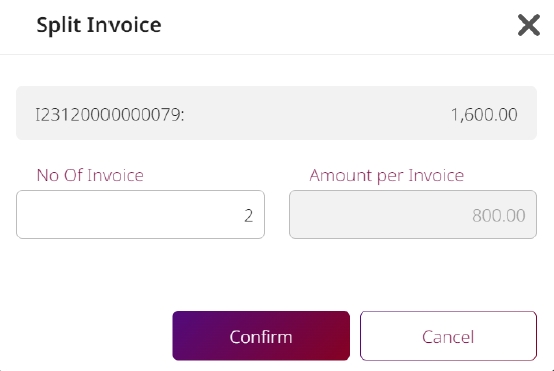
- Edit invoice date or credit term, then Gen & Print / Gen & Send / Save / Cancel.
Note: Splitting invoices will cancel the original invoice. Credit / Debit Notes must align with audit policy.
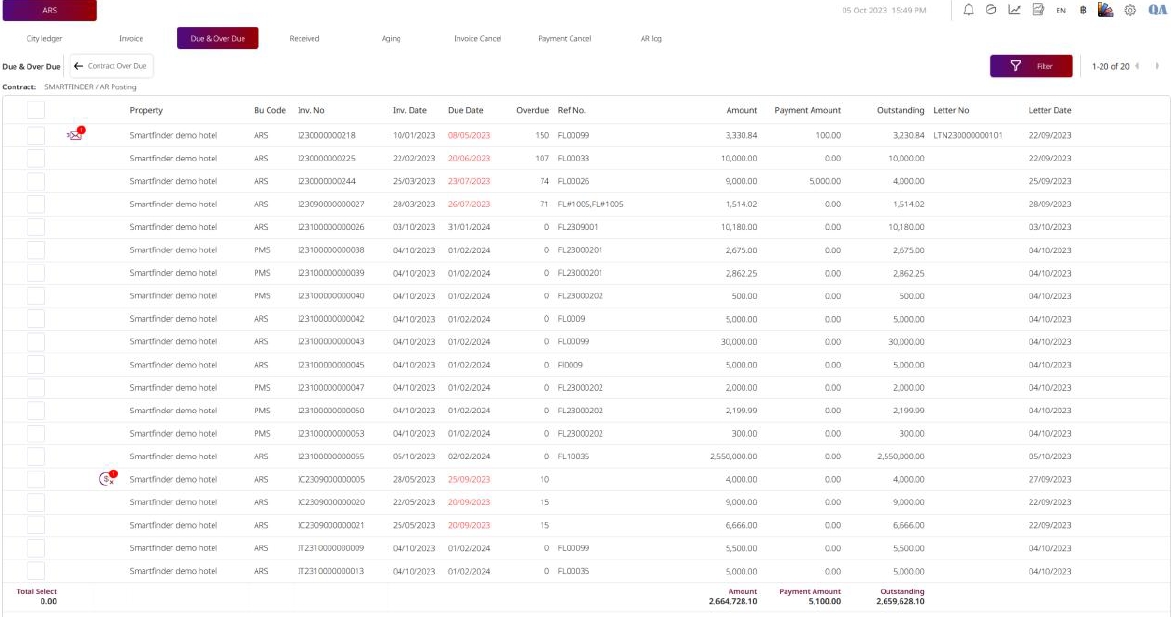
8. Due & Over Due
This function allows users to manage overdue invoices by generating reminder letters or marking accounts as doubtful debts.
To perform the task:
- Select the Due & Overdue tab.
- Select the checkbox of the data item(s) you wish to process.

- The system will display the following action buttons:
- Create Letter
- Doubtful Debt

- Press the Create Letter button.
- 4.1 The system will show the Letter Overdue screen.
- 4.2 Press Confirm. The system will display a symbol to indicate successful confirmation.
- 4.3 Press Confirm & Send. The system will display a symbol indicating the letter has been sent.
- 4.4 Press Cancel to cancel the operation.

- Press the Doubtful Debt button.
- Select the item you want to mark as doubtful debt.
- The system will display a symbol to indicate the status of the selected item.
Note: The confirmation symbol acts as a visual indicator of successful status change.
9. Received
This section provides tools for managing received payments. Users can print payment records, send them via email, or cancel payments if necessary.
To perform the task:
- Click Received tab.
- Select one payment by checkbox.
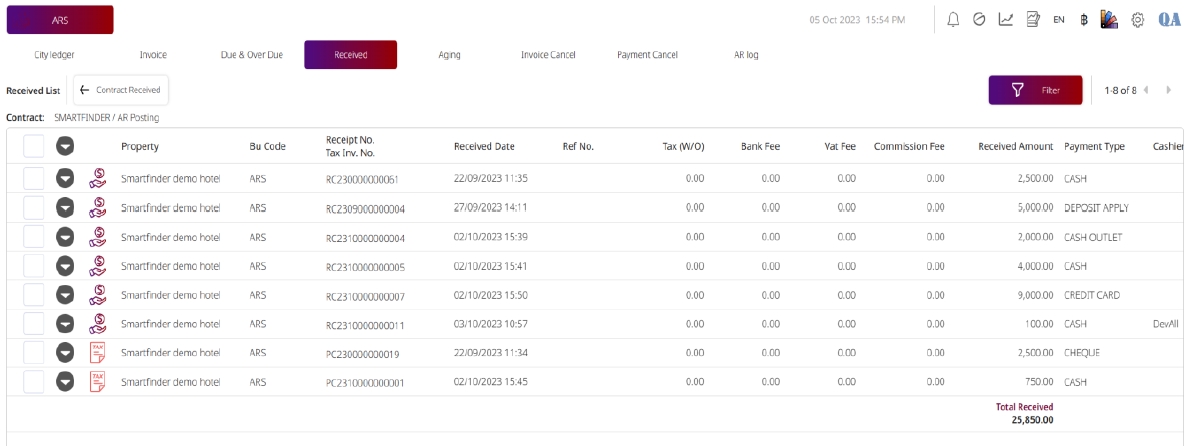
- Click Print to preview payment PDF.
- Click Send to email payment slip.
- Click Cancel Payment to move it to the Payment Cancel page.
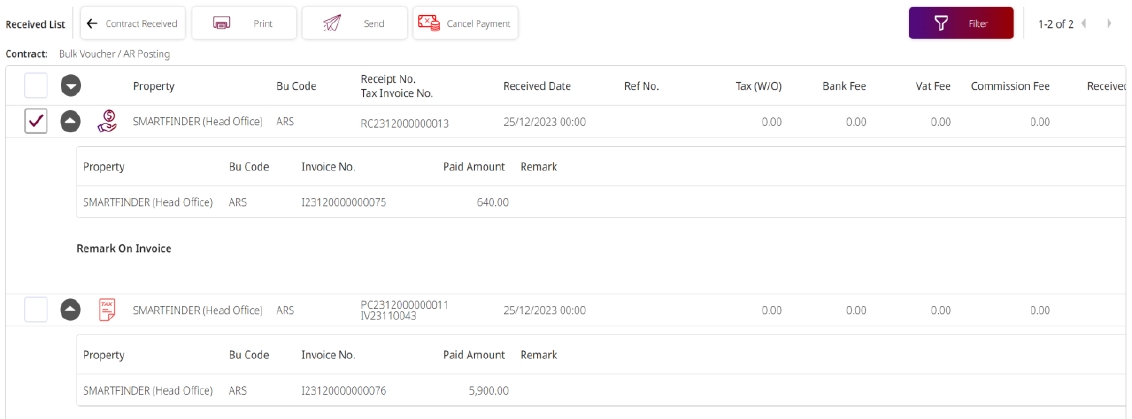
Note: Only one item can be selected per action. Cancelled payments are kept in a separate tab for tracking.
10. Aging
This function provides a summary or detailed view of outstanding accounts receivable categorized by aging periods.
To perform the task:
- Click Aging tab.
- Choose Summary or Detail report.
- Click Print to preview PDF report.
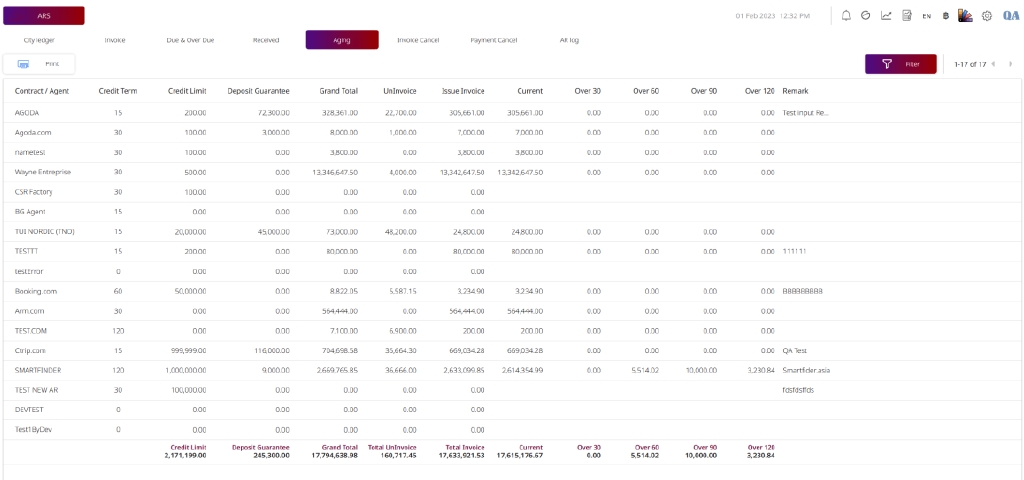
Note: Use aging reports for financial analysis and collection planning. Ensure contracts have updated aging settings for accurate reports.
11. Invoice Cancel
This function allows users to manage cancelled invoices and generate reports in PDF or Excel.
To perform the task:
- Click Invoice Cancel tab.
- Select invoice(s) using checkbox.
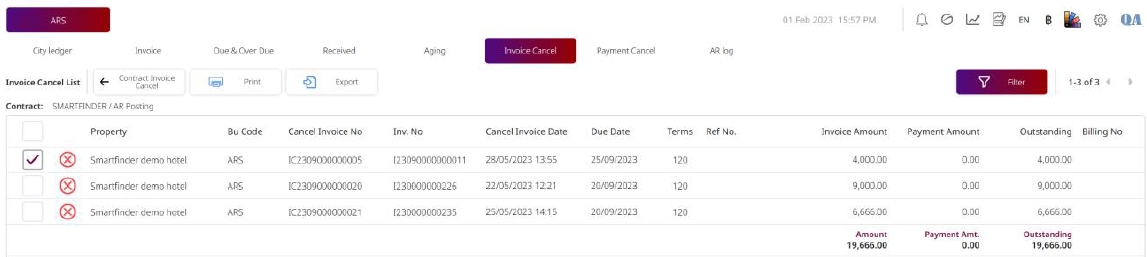
- Click Print to preview PDF.
- Click Export and choose This Page or All Pages for Excel export.

Note: Use export functions for reconciliation and financial review.
12. Payment Cancel
This function handles the management of cancelled payments, allowing printing and email sending.
To perform the task:
- Click Payment Cancel tab.
- Select one item using checkbox.
- Click Print to generate PDF preview.
- Click Send to email the record to customer.
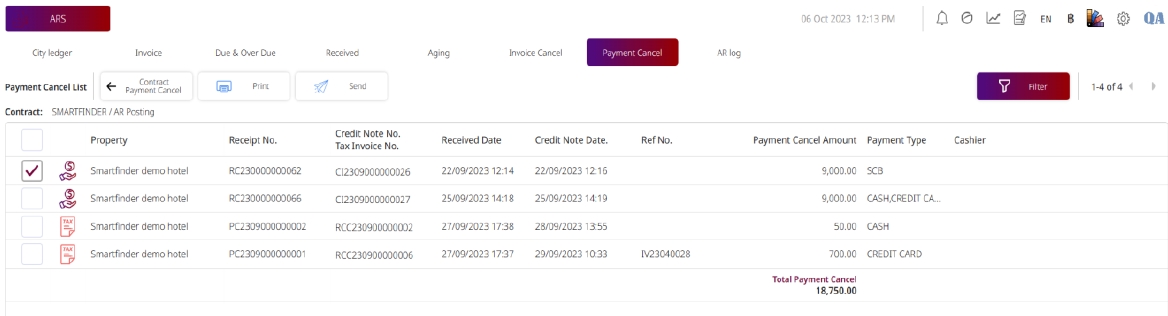
Note: Only one item can be selected per action. Cancelled payments are archived separately from received payments.
13. AR Log
This function displays logs of actions performed in the AR module for audit and traceability.
To perform the task:
- Click AR Log tab.
- Select one item using checkbox.
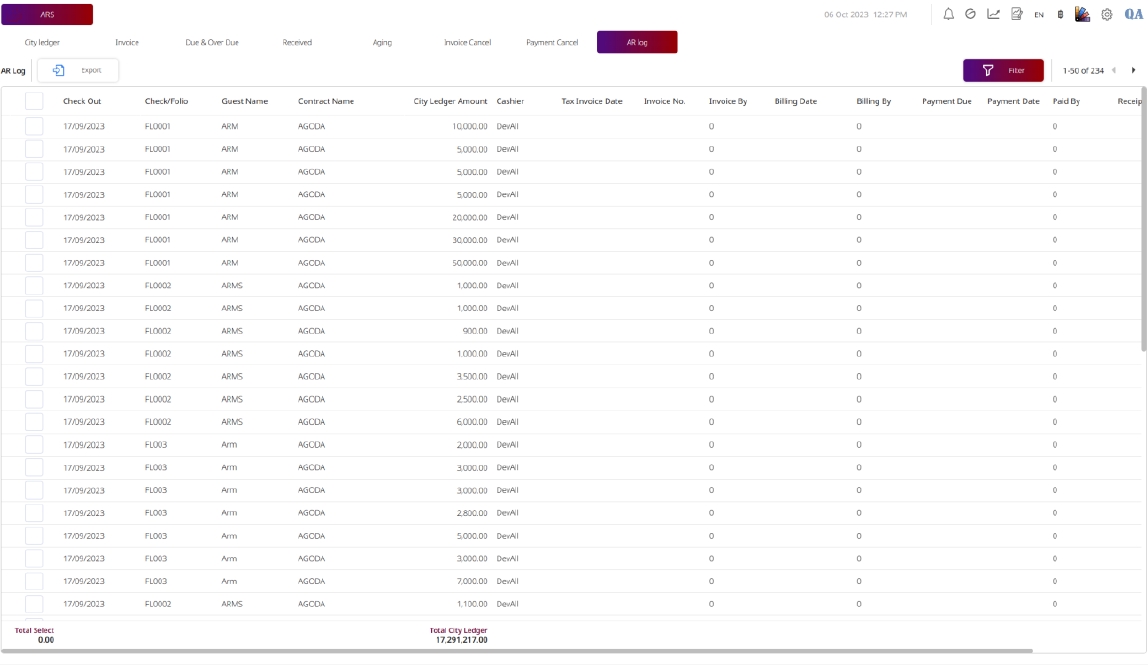
- Click Print to preview PDF log entry.
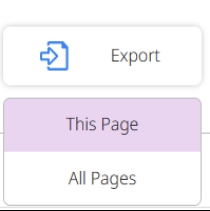
- Click Export and choose This Page or All Pages to export Excel log.
Note: Logs are critical for auditing and tracking changes.
14. AR Report
This function allows users to generate various AR reports in PDF or Excel format.
To perform the task:
- Click AR Report tab.
- Select one report type.
- Click View to preview PDF.
- Click Export and choose This Page or All Pages to export Excel report.
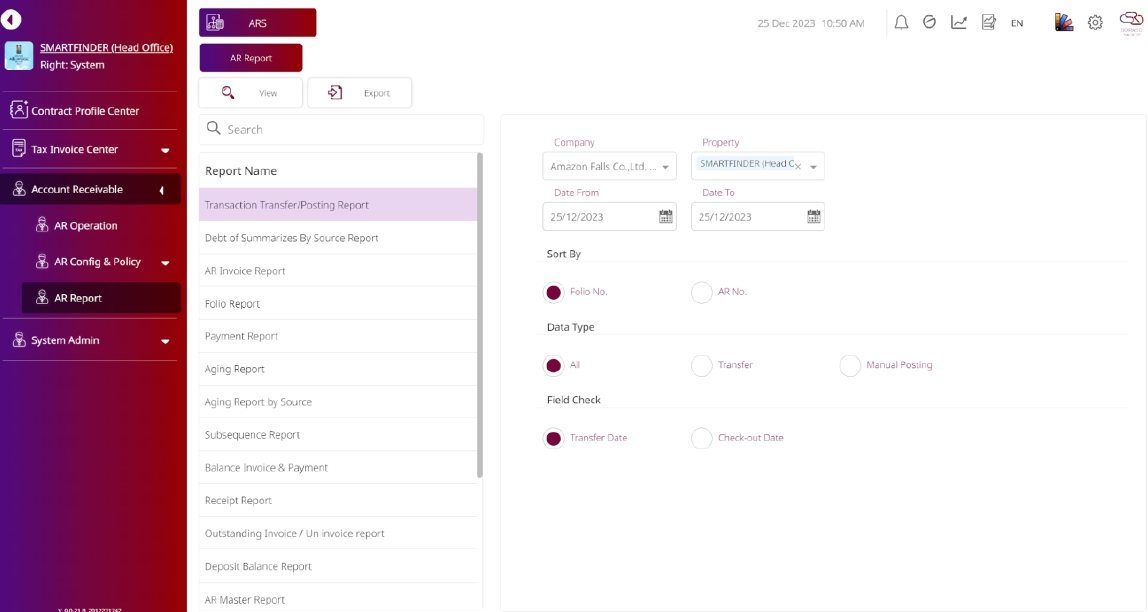
Note: Always verify preview before exporting reports. Report visibility depends on user access level.