BOS - Purchase User Guide
1. Overview
The BOS Purchase system streamlines procurement processes from internal requisitions to PO approval, receiving, and inventory reconciliation. It ensures transparency, policy compliance, and seamless integration with Inventory and GL systems. The system supports standardized item templates, supplier setup, and multi- step approval flows to enhance operational accuracy and financial traceability.
2. Set Configuration
Initial configuration includes setting menu items and templates for purchasing operations. Users define supplier information, categories, units, and default purchase settings.
2.1 Menu Items
The Menu Items section is used to define key procurement parameters including vendor classification, payment conditions, and account references. These foundational settings ensure the system behaves consistently and complies with accounting and purchasing policies.
To perform the task:
- Go to SYS > Back Office Master > Purchasing.
- Configure supplier categories and item groups.
- Set default payment terms and warehouse destinations.
- Assign GL codes and accounting references.
- Review approval limits and authorization roles.
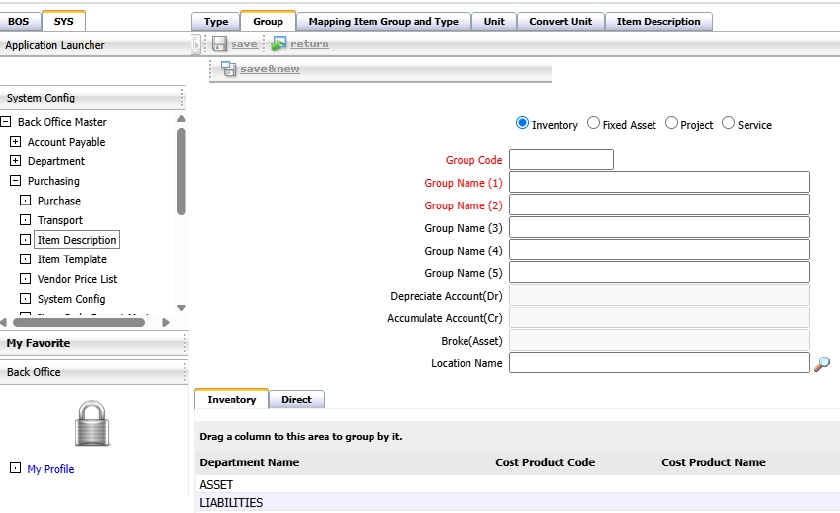
Note: This setup ensures proper alignment with accounting and warehouse modules.
2.2 Item Template
The Item Template allows pre-definition of products used in purchasing. It helps standardize item data such as units, brand, type, and tax. This ensures consistency and efficiency when creating PR and PO documents.
To perform the task:
- Go to SYS > Back Office Master > Item Template
- Define item attributes such as type, unit, brand, and group.
- Set tax rate and default supplier for each item.
- Save and update the template for future PR/PO use.
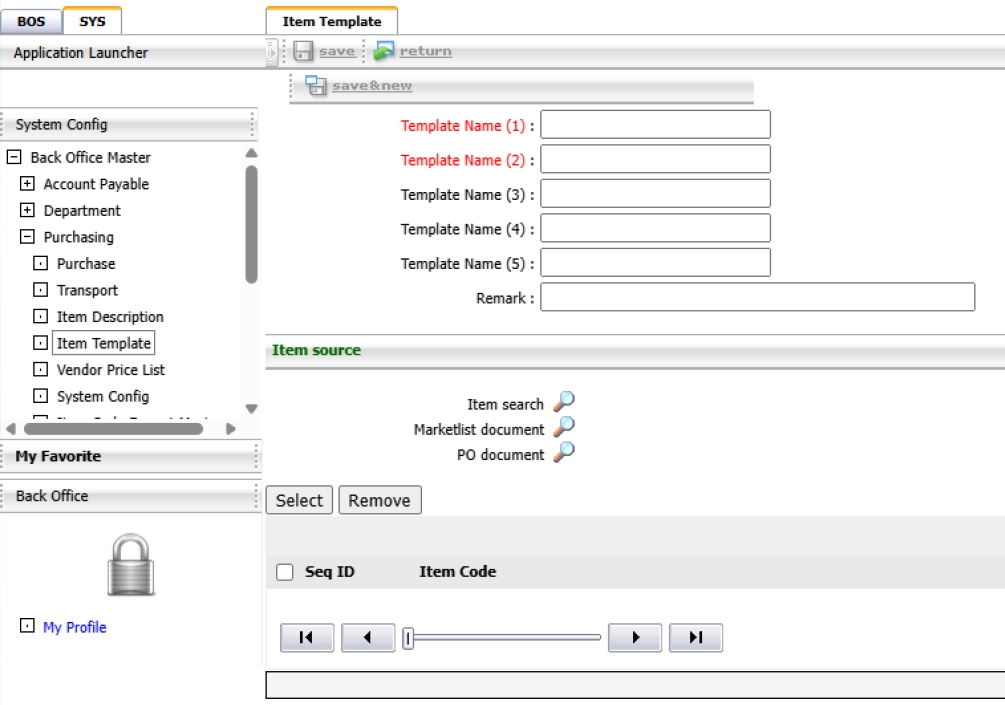
Note: Item templates speed up requisition and purchasing processes while reducing manual entry errors.
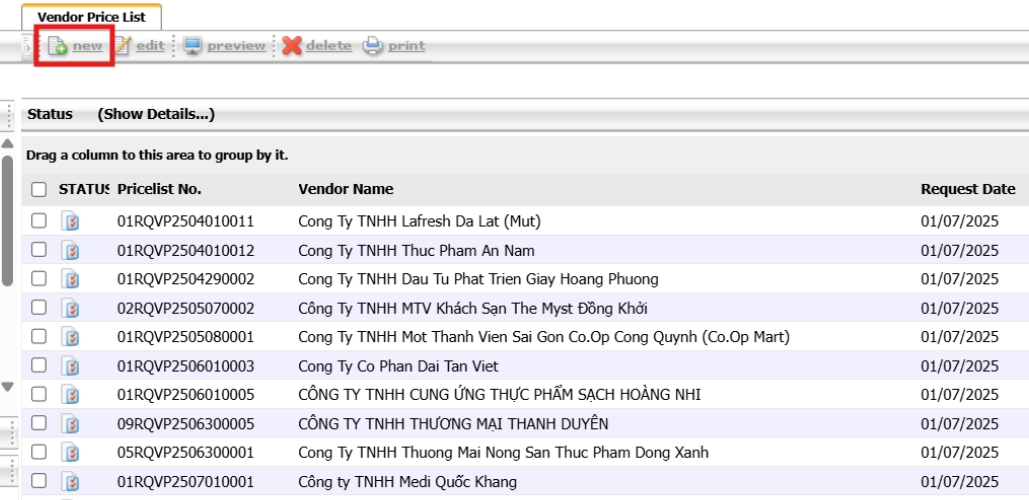
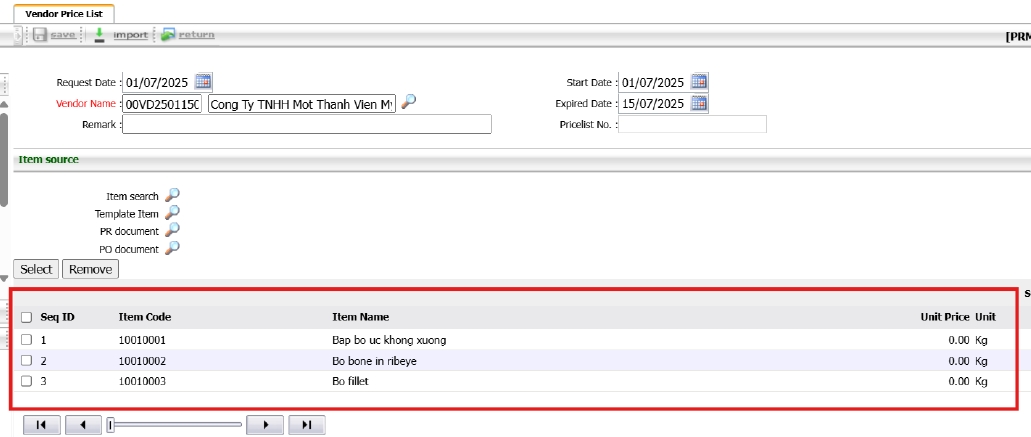
2.3 Vendor Price List
The Vendor Price List page is used to store vendor pricing information, which supports the Get Best Price function during purchase order creation.
To perform the task:
- Go to SYS > Back Office Master > Purchasing > Vendor Price List
- Click New to add a new vendor price entry
- Specify the date of the price request
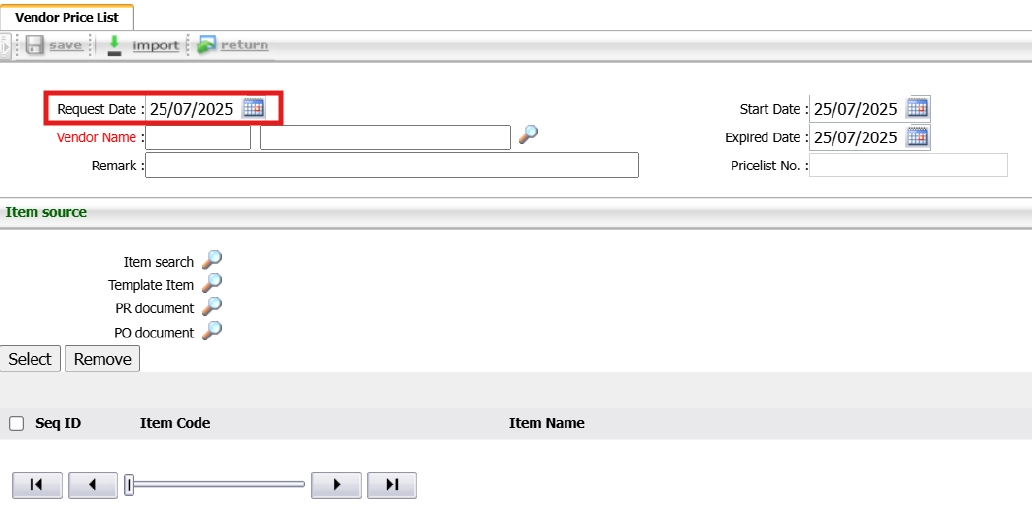
- Specify the effective and expiration dates for the price entry
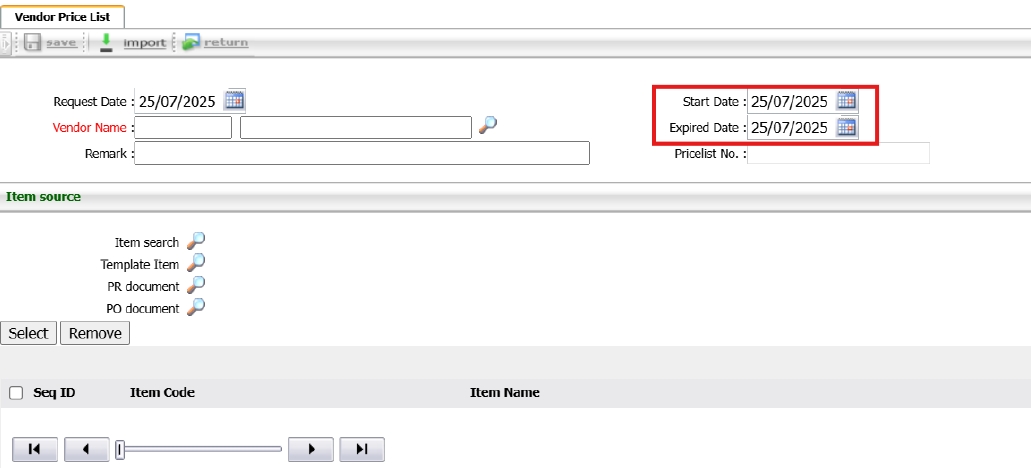
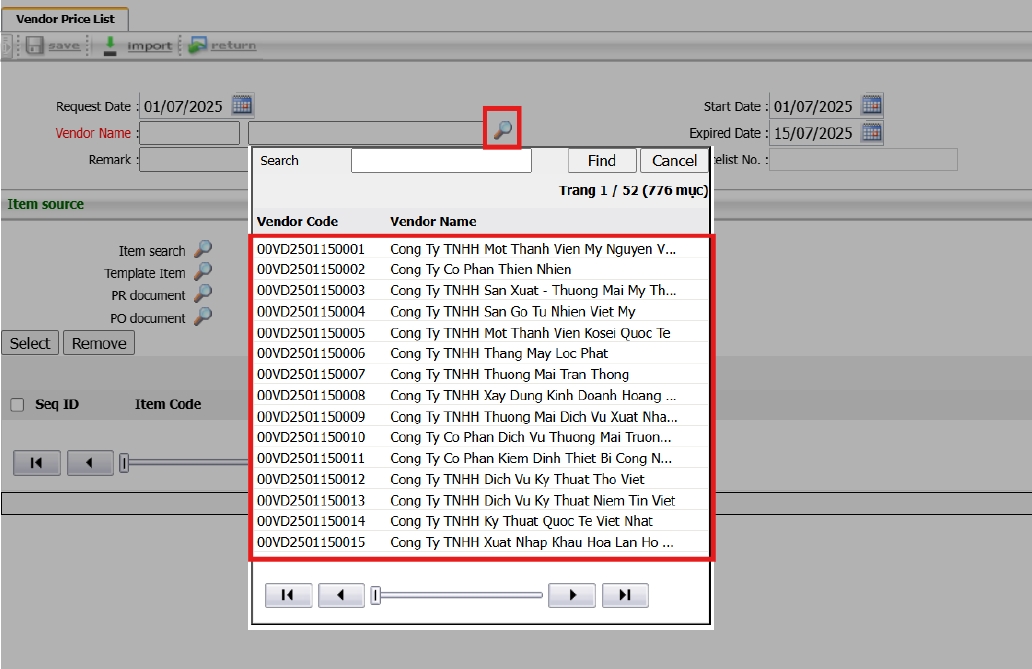
- Select the vendor using the magnifying glass icon
- On the Item Source tab, use Item Search or Template Item
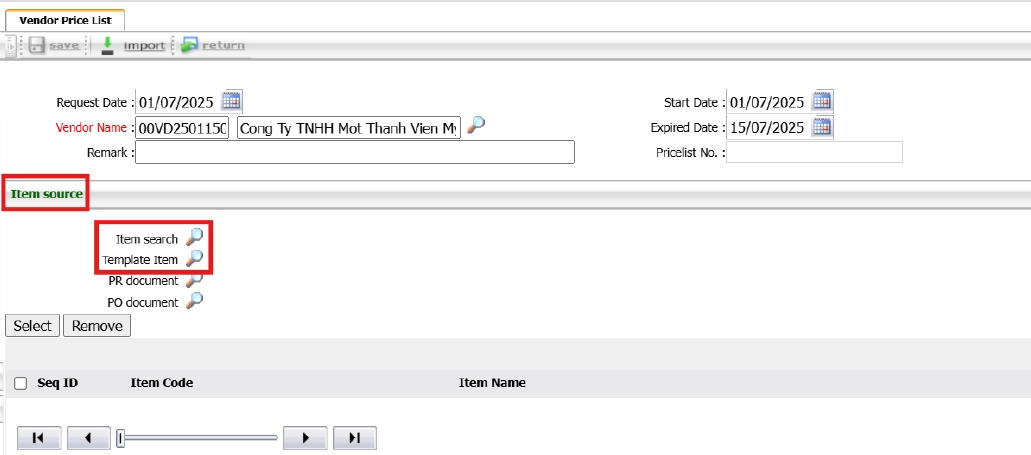
- Select items from the list and click Save
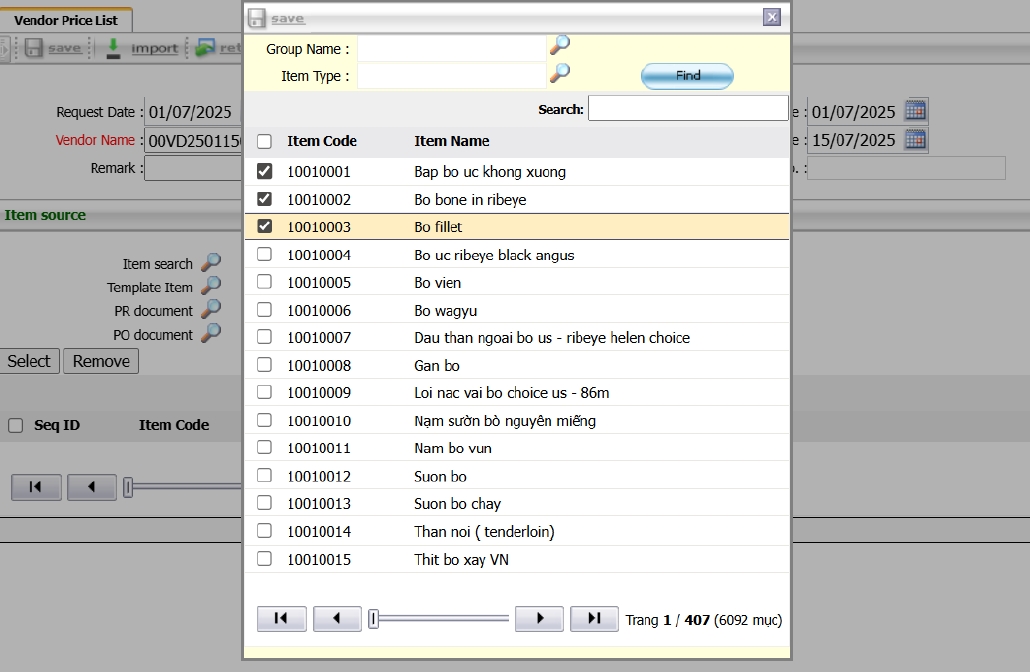
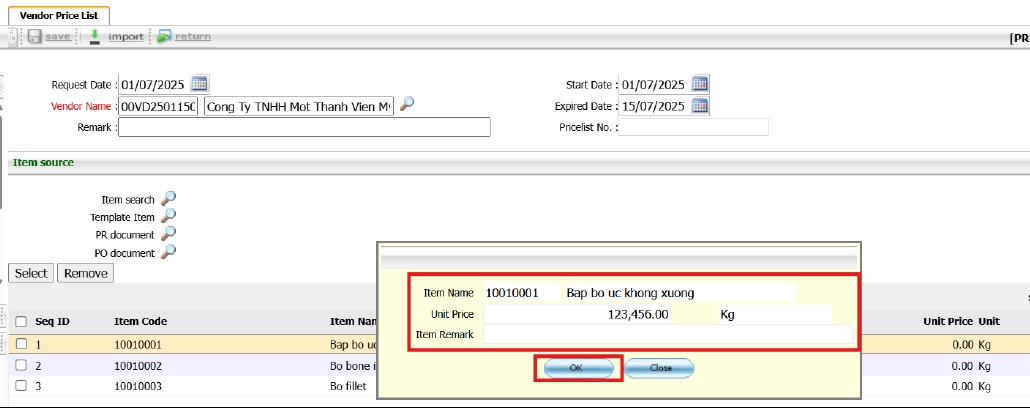
- Click on item to enter vendor price and confirm
- Click Save to finalize the document
- You may also import data from Excel using the Item Template function
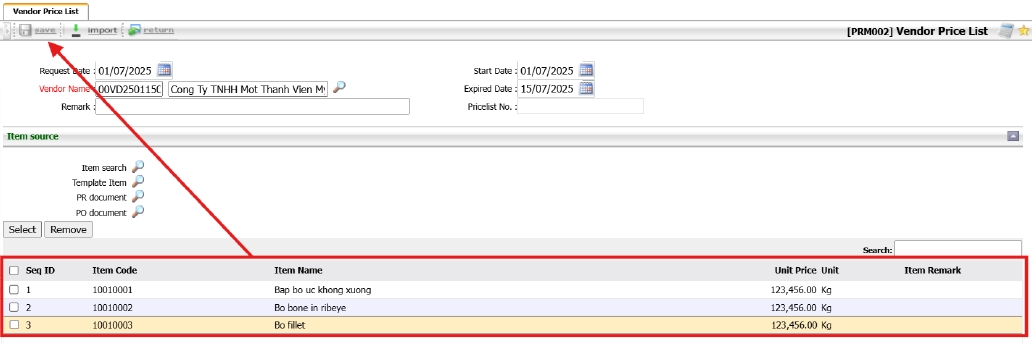
Note: Use the template to import prices conveniently and accurately.
3. Procurement System Work Procedure
This section outlines the step-by-step operational workflow of the purchasing process, starting from the request order to the reduction of debt and inventory. Each task is tied to specific system menus to ensure procedural accuracy and traceability.
3.1 Request Order
The Request Order function is used to initiate internal purchase requisitions. Users specify the required items, quantities, and delivery needs before forwarding them for approval. This step ensures internal control and validation before moving to procurement.
To perform the task:
- Go to BOS > Purchasing > Operations PR > Purchase Requisition
- Click 'Add New' to create a request.
- Select department, enter required items with quantity, description, and expected date.
- Submit for approval based on assigned authority levels.
Note: The request must be approved before generating a Purchase Order.
3.2 Create PR Marketlist
The PR Marketlist is used to request fresh market items such as meat, vegetables, and fruits. It acts as a request form requiring approval by the Head of Department or assigned personnel. Once approved, it is sent to the Purchasing Department for processing.
To perform the task:
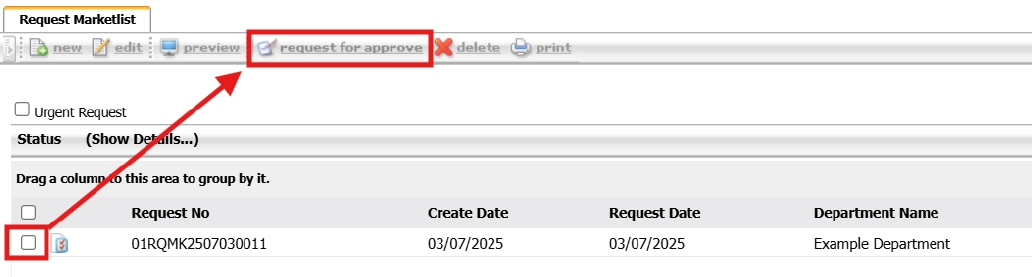
- Go to BOS > Purchasing > Marketlist System > Request Marketlist
- Click New to add a new PR Marketlist Document
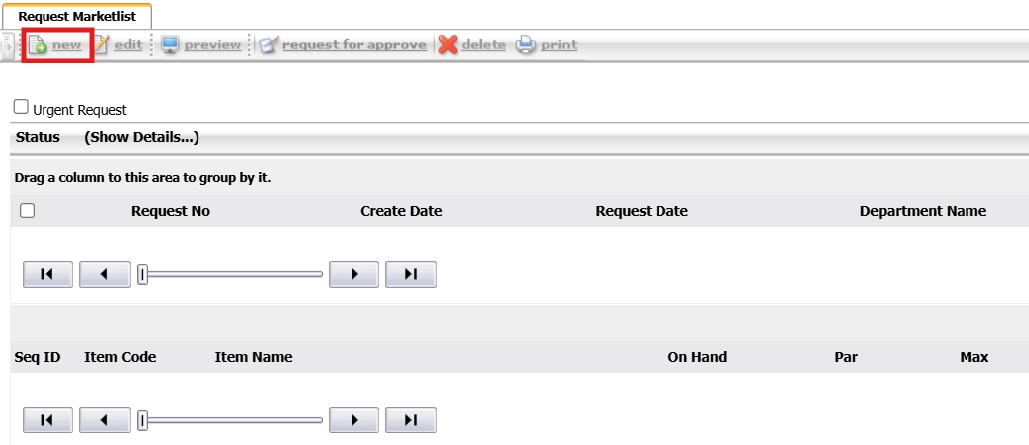
- Select the location requesting the goods
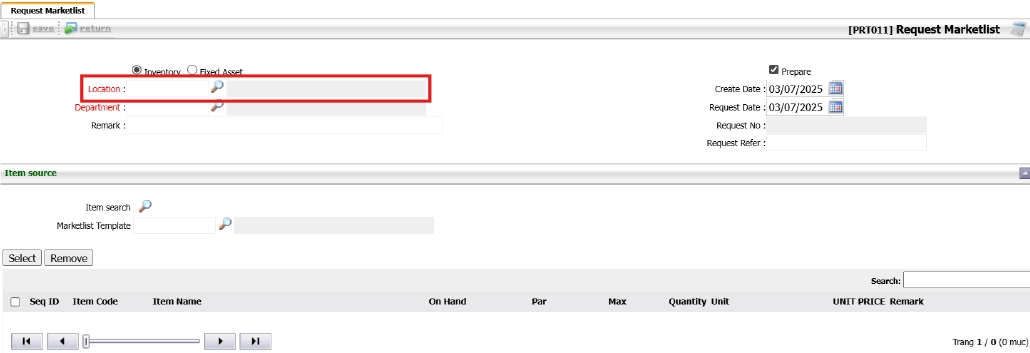
- The department will be automatically filled based on the warehouse configuration

- Select the request date (expected arrival date)

- Select items using either Item Search or Marketlist Template
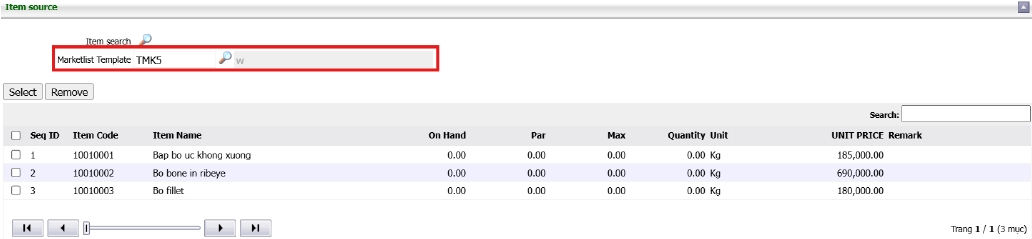
- Enter the quantities by double-clicking the item row
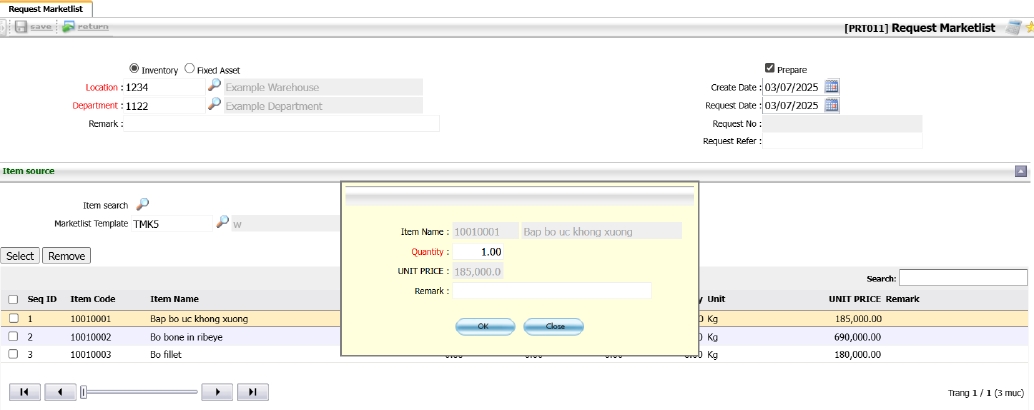
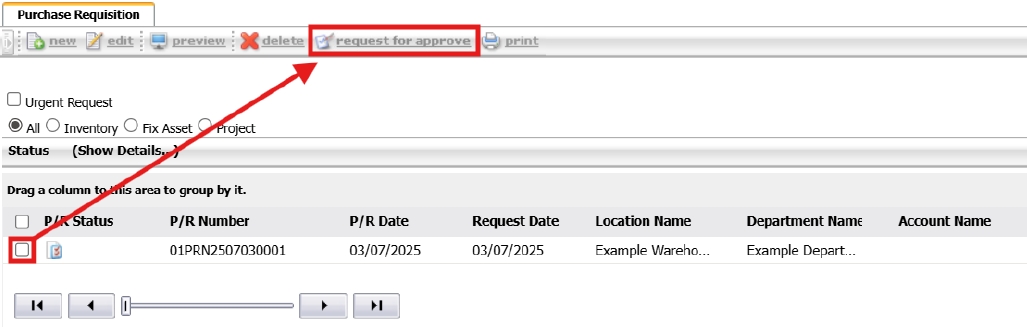
- Click Save to create the document, then click Request for Approve
Note: Use templates for faster and more accurate PR creation
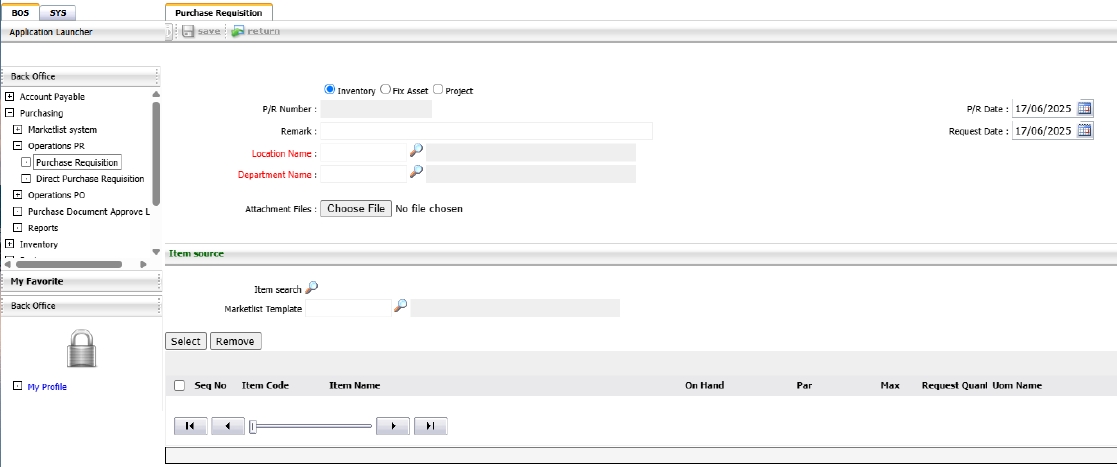
3.3 Create PR Document
A Purchase Requisition (PR) is used for general inventory and fixed asset requests, unlike the PR Marketlist which is limited to fresh market items. There are two types: PR Normal (with warehouse routing) and PR Direct (used for direct expense recording without storage).
To perform the task:
- Go to SYS > Purchasing > Operation PR > Purchase Requisition
- Click New to create a new document

- For Inventory PR, leave the radio button as Inventory, select the PR Date and Request Date
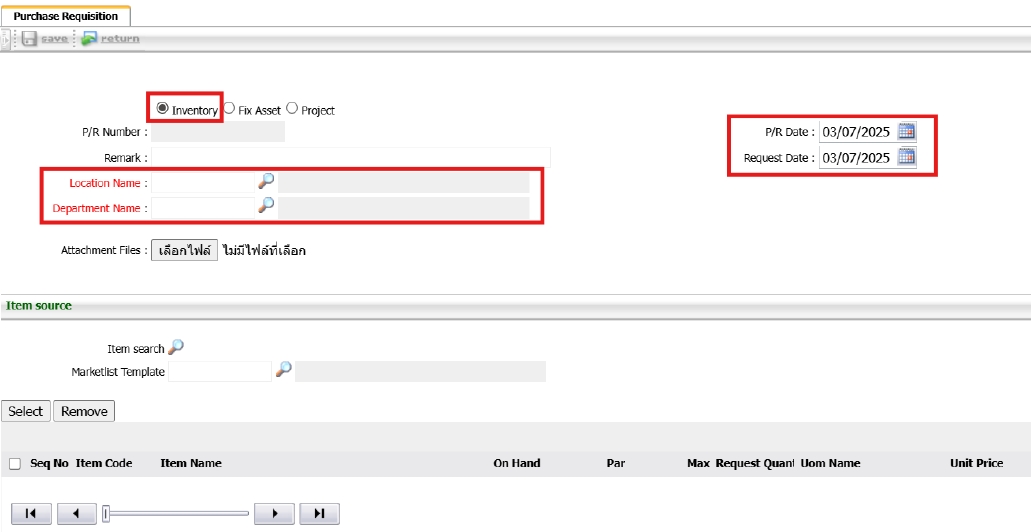
- Select the Location Name; the Department Name will be filled automatically
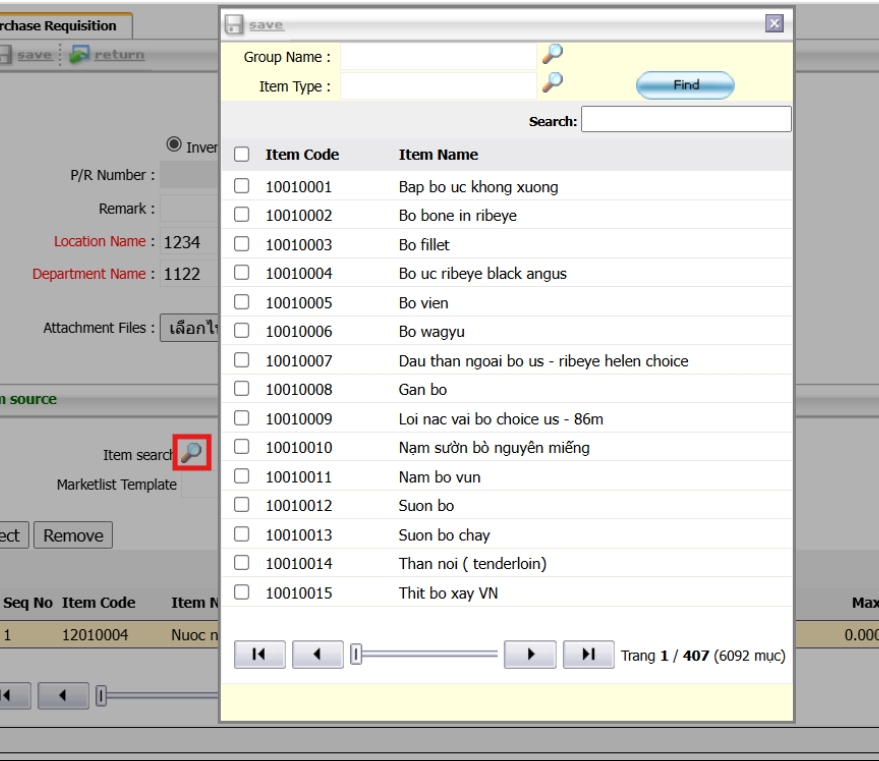
- Select items using Item Search, tick checkboxes, and click Save
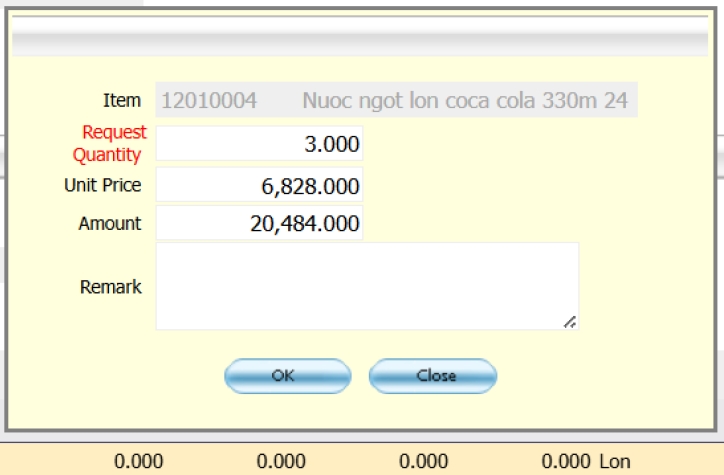
- Enter quantity by double-clicking the item row, then click OK
- Click Save to save the document and Request for Approve to submit
- For fixed assets, select Fix Asset and choose the Asset Location
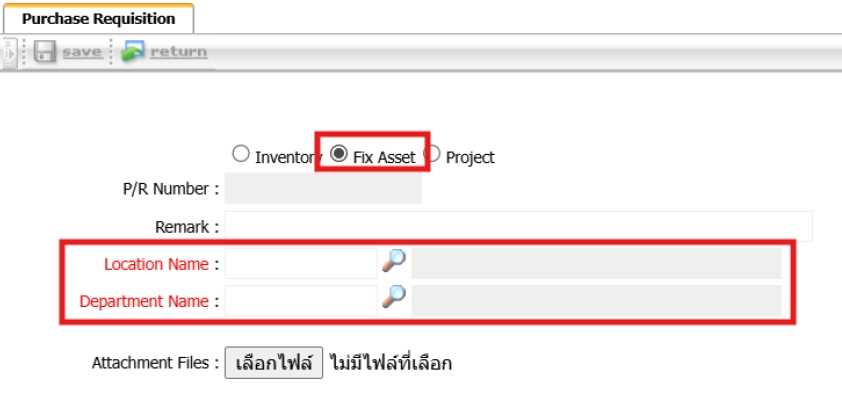
- For PR Direct, go to BOS > Purchasing > Operations PR > Direct Purchase Requisition and select only the department
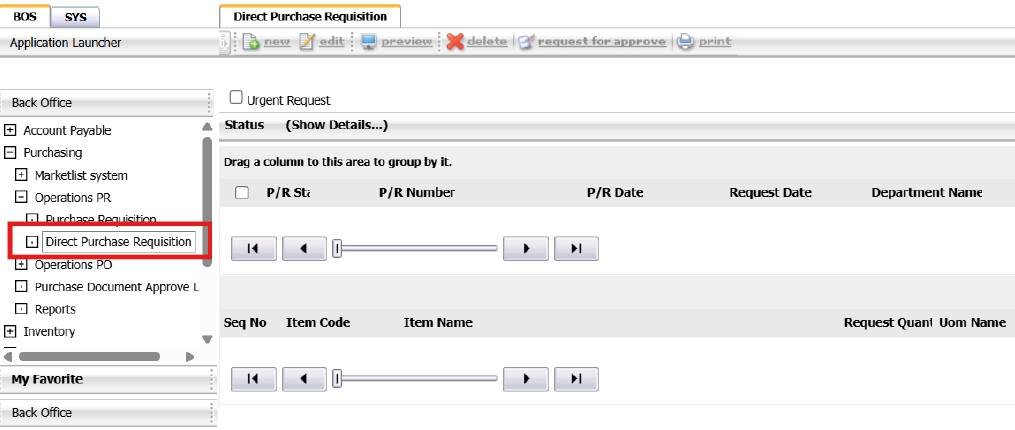
Note: Direct PR is used to record expenses without warehouse routing
3.4 Compare Product Prices (RFQs)
The RFQ comparison process allows procurement teams to request and evaluate quotes from multiple suppliers. It supports data-driven decision-making by comparing price, availability, and supplier terms before confirming a purchase.
To perform the task:
- Go to BOS > Purchasing > Operation PO > PR Listing
- Select request order reference and send RFQs to multiple suppliers.
- Input prices, compare offers, and select the most suitable option.
- Approve selected quote for PO issuance.
Note: Comparing prices from multiple suppliers ensures best value procurement.
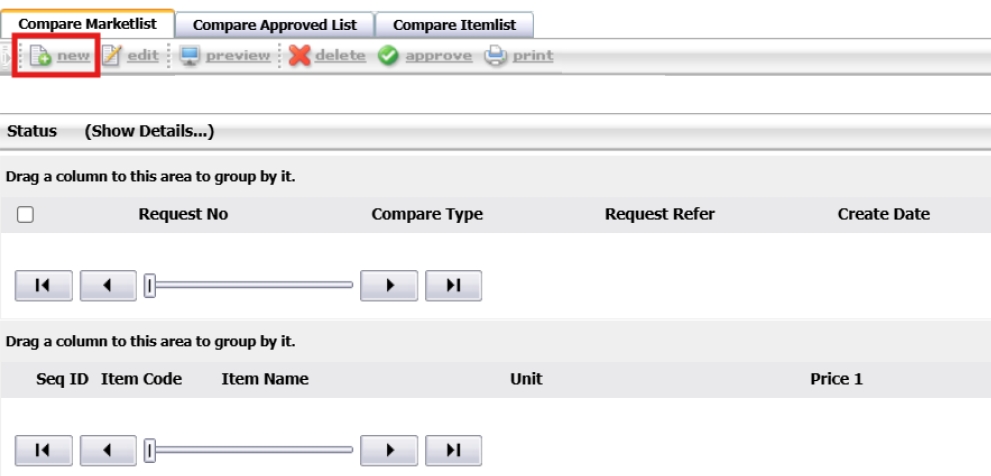
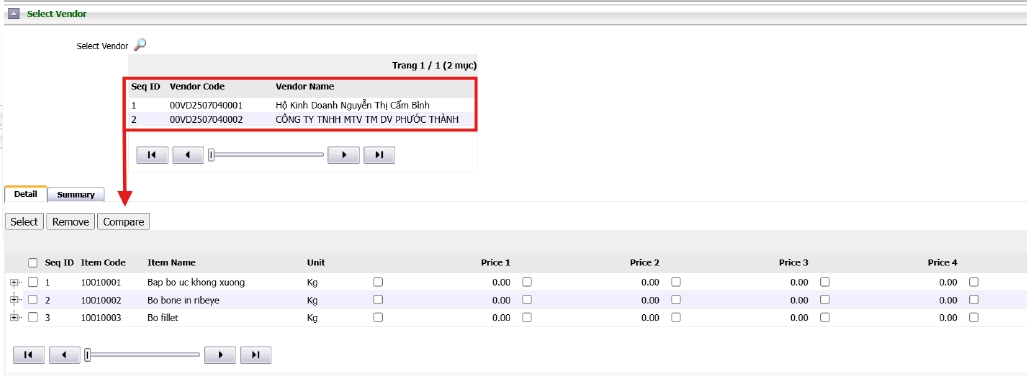
3.5 Compare Market list
Used for comparing vendor item prices based on the Vendor Price List data. This supports the Get Best Price function during the purchase order process.
To perform the task:
- Go to BOS > Purchasing > Marketlist System > Compare Marketlist
- Click New to add a new Compare Marketlist entry
- Select Best Price and define the Compare Price Date Begin and End
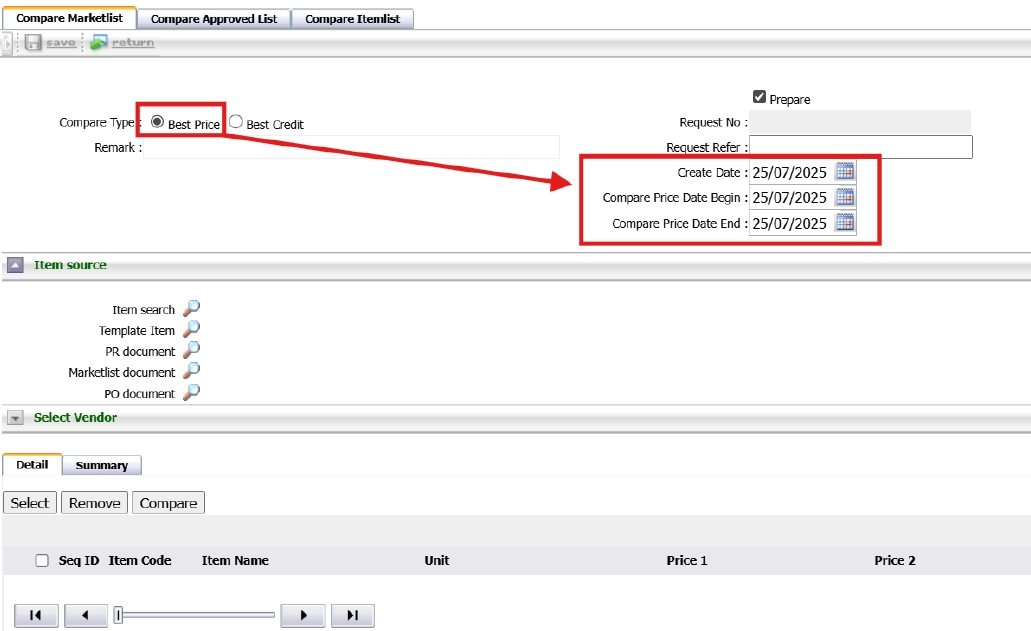
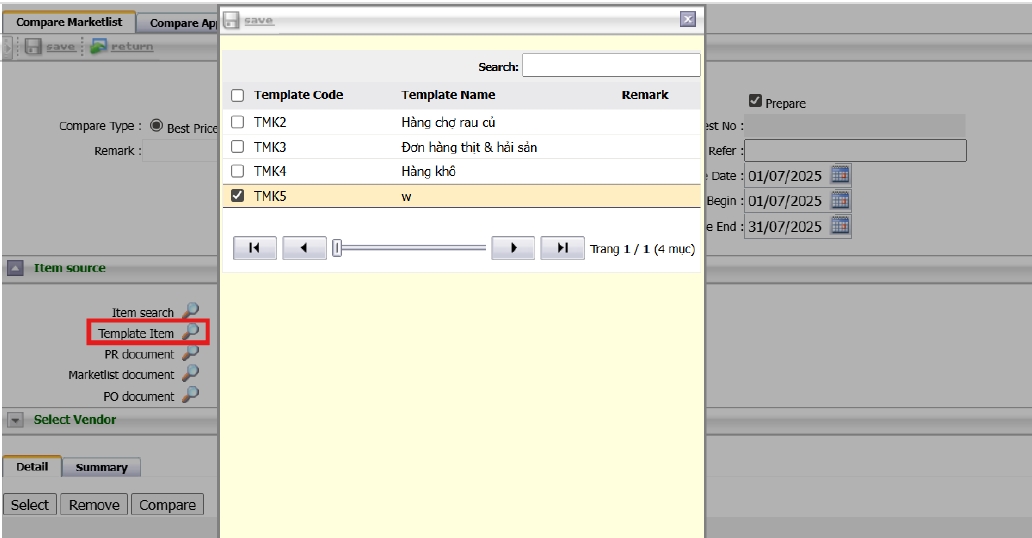
- Select items using Template Item or Item Search
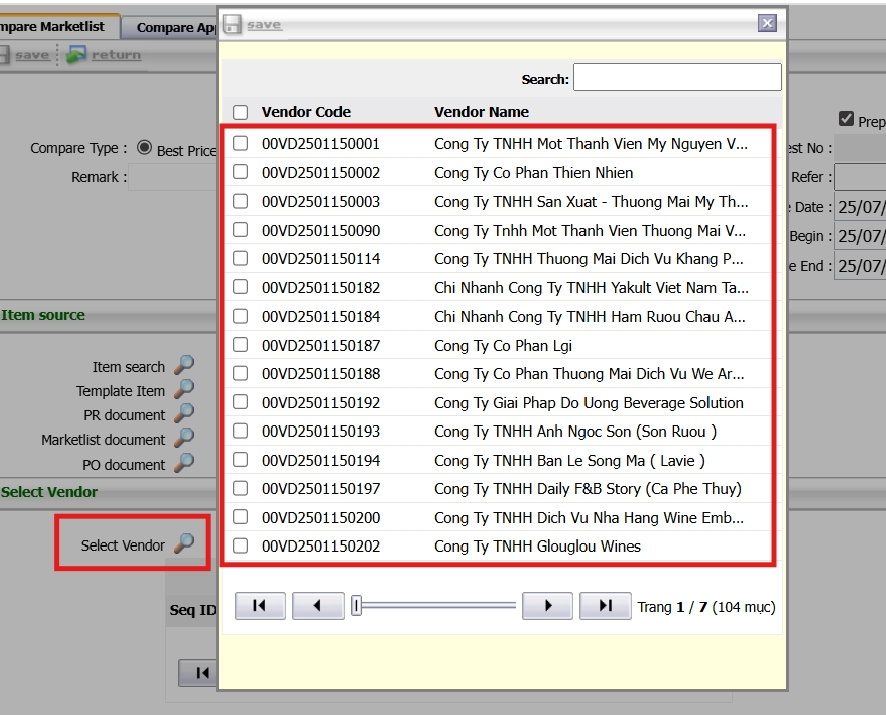
- Select vendors using the magnifying glass icon, then click Save
- Click Compare to retrieve prices and enable the Get Best Price function
- Lowest price will be auto-selected and shown in red
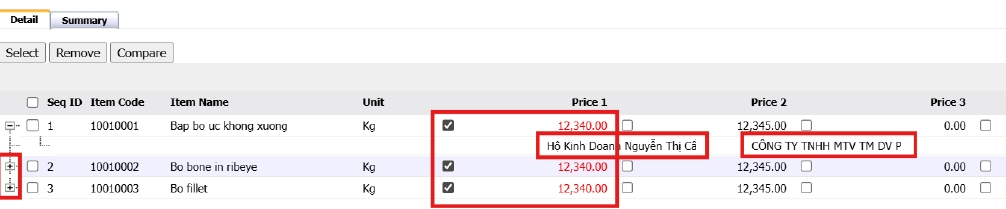
- Users can change preferred price manually if needed
- Click Save to store the document and click Approve
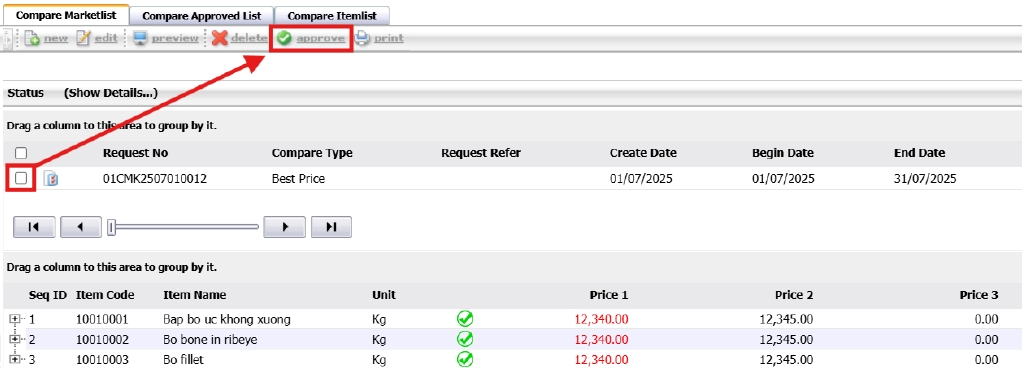
- Approved prices appear in the Compare Approved List tab
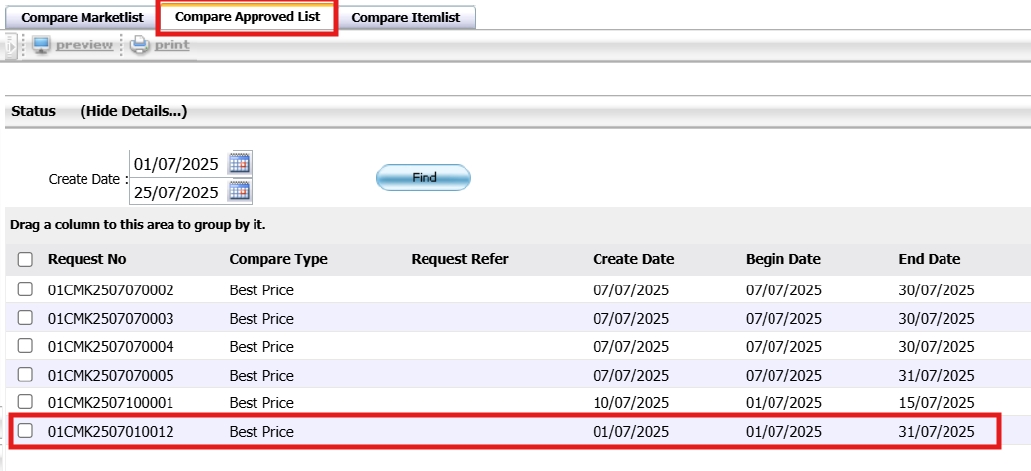
Note: The system auto-selects the lowest price based on Vendor Price List data.
3.6 PO Procurement
Purchase Orders (POs) are generated based on approved requisitions or selected RFQs. This ensures that all purchases are accurately documented, approved, and aligned with supplier agreements.
To perform the task:
- Go to BOS > Purchasing > Operation PO> Purchase Order.
- Select approved quotation or request order.
- Confirm supplier details, pricing, and delivery timeline.
- Save and forward PO for final approval.
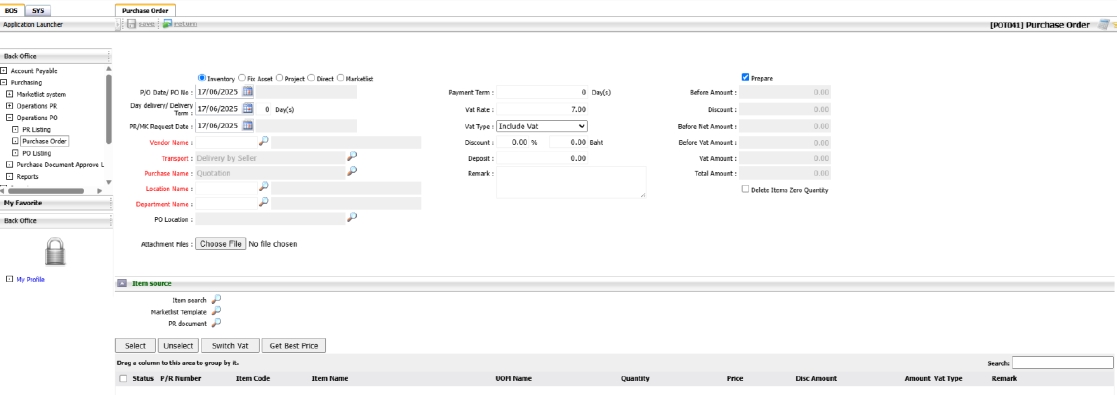
Note: Ensure supplier information and order details match the RFQ.
3.7 Create PO From PR
Once the PR is approved; it can be used directly to create a Purchase Order (PO).
To perform the task:
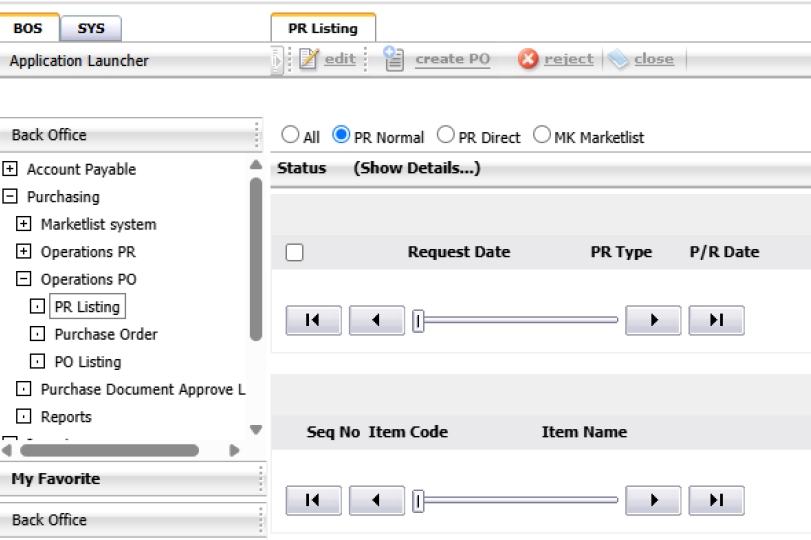
- Go to BOS > Purchasing > Operations PO > PR Listing
- All approved PR documents (Normal and Direct) will be listed
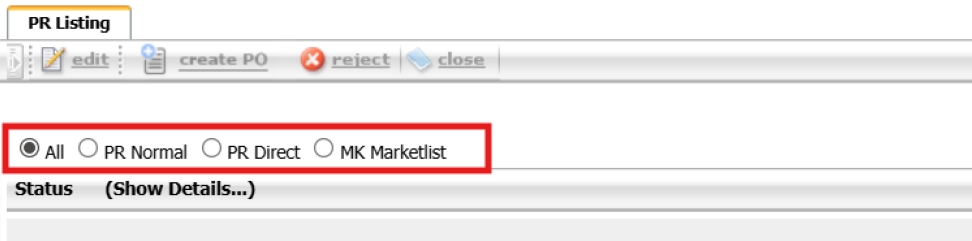
- Select the desired PR, then click Create PO
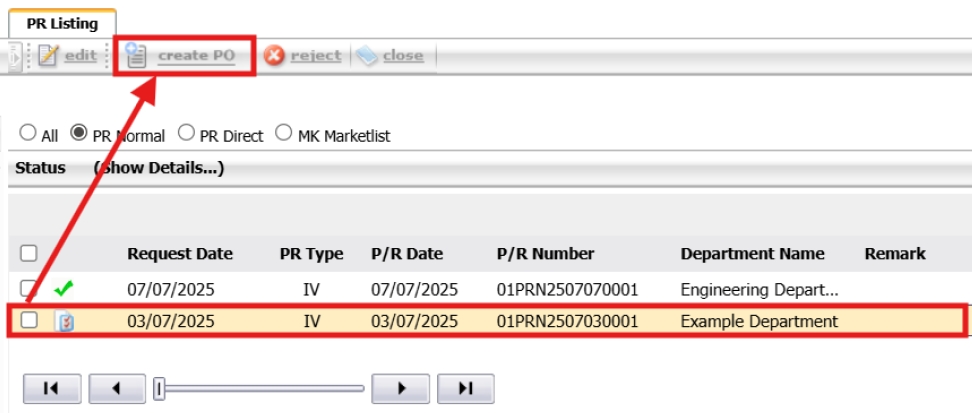
- The system will auto-populate PO details from the PR
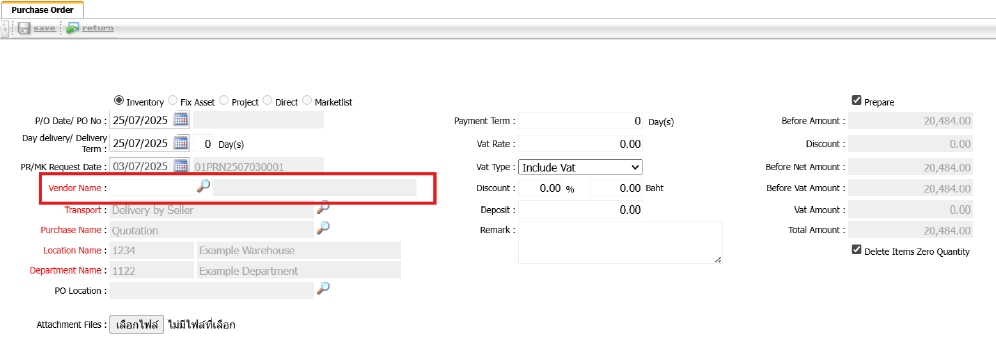
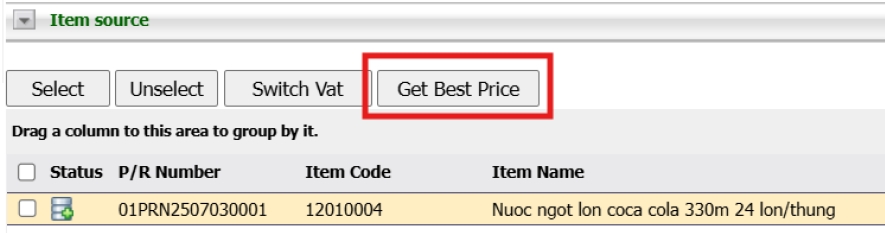
- Adjust item prices according to vendor quotations, then click OK
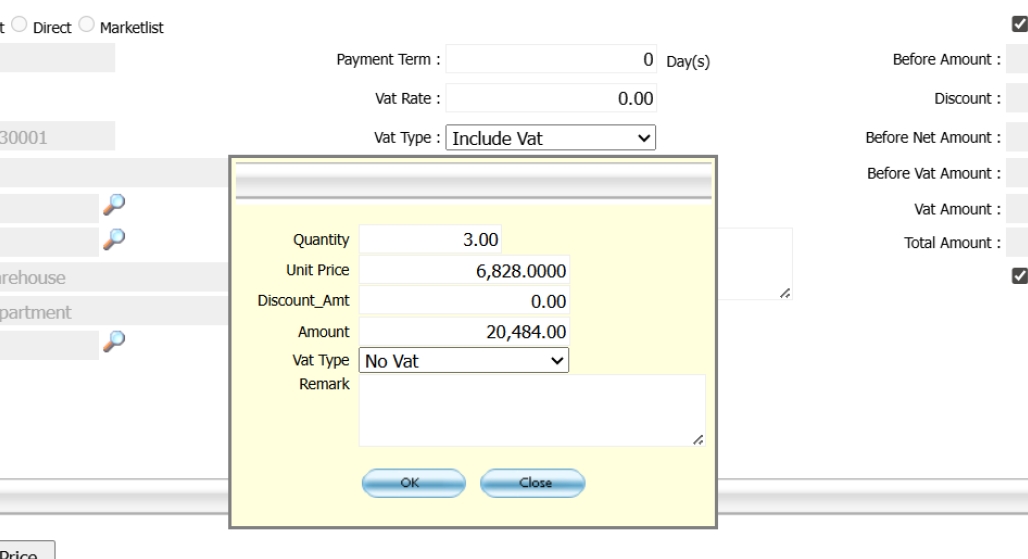
- If the “Get Best Price” function has been enabled in the system, select it to automatically retrieve the most competitive vendor pricing.
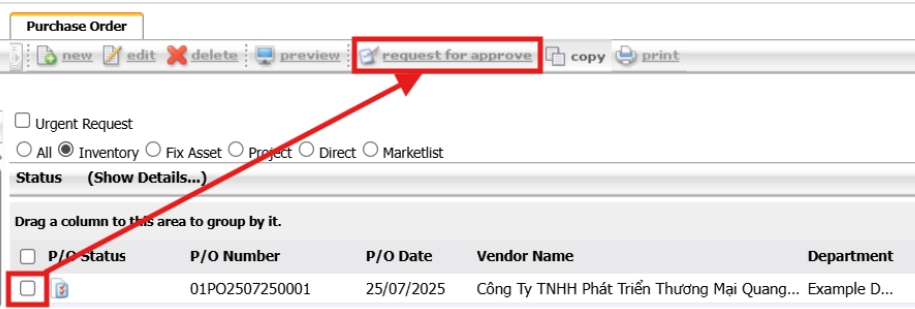
- After verifying all PO details, click Save to record the document.
- Select the PO from the list and click Request for Approve to submit it for approval.
Note: Always review item prices before confirming the PO
3.8 Approve PR / PO
The PR/PO approval process adds a layer of authorization to verify that each procurement transaction complies with policy and budget. Only approved documents proceed to the next stage of procurement or receiving.
To perform the task:
- Go to BOS > Purchasing > Operation PO> Purchase Document Approve Level
- Review pending PRs and POs in the list.
- Check for completeness and policy compliance.
- Approve or reject based on authority and remarks.

Note: All purchases must undergo approval before moving to the receiving stage.