PMS – Lost & Found User Guide
1. Overview
This PMS – Lost & Found User Guide provides hotel staff with step-by-step instructions for setting up item types and managing lost and found records. It includes guidance on configuring lost & found categories, creating new entries, and updating statuses for items found in the hotel premises.
2. Setup Lost & Found Item Types
Available under Lost & Found > Type Setup , this function allows staff to configure the categories of lost items.
To perform the task:
- Select 'Lost & Found' from the main menu.
- Click 'Type Setup'.
- Click the ' New ' button to enter a new item type.
- Enter the type code.
- Select the alert type.
- Enter the number of days to keep the item in stock.
- Enter the type name.
- Click 'Save ' to confirm the setup.
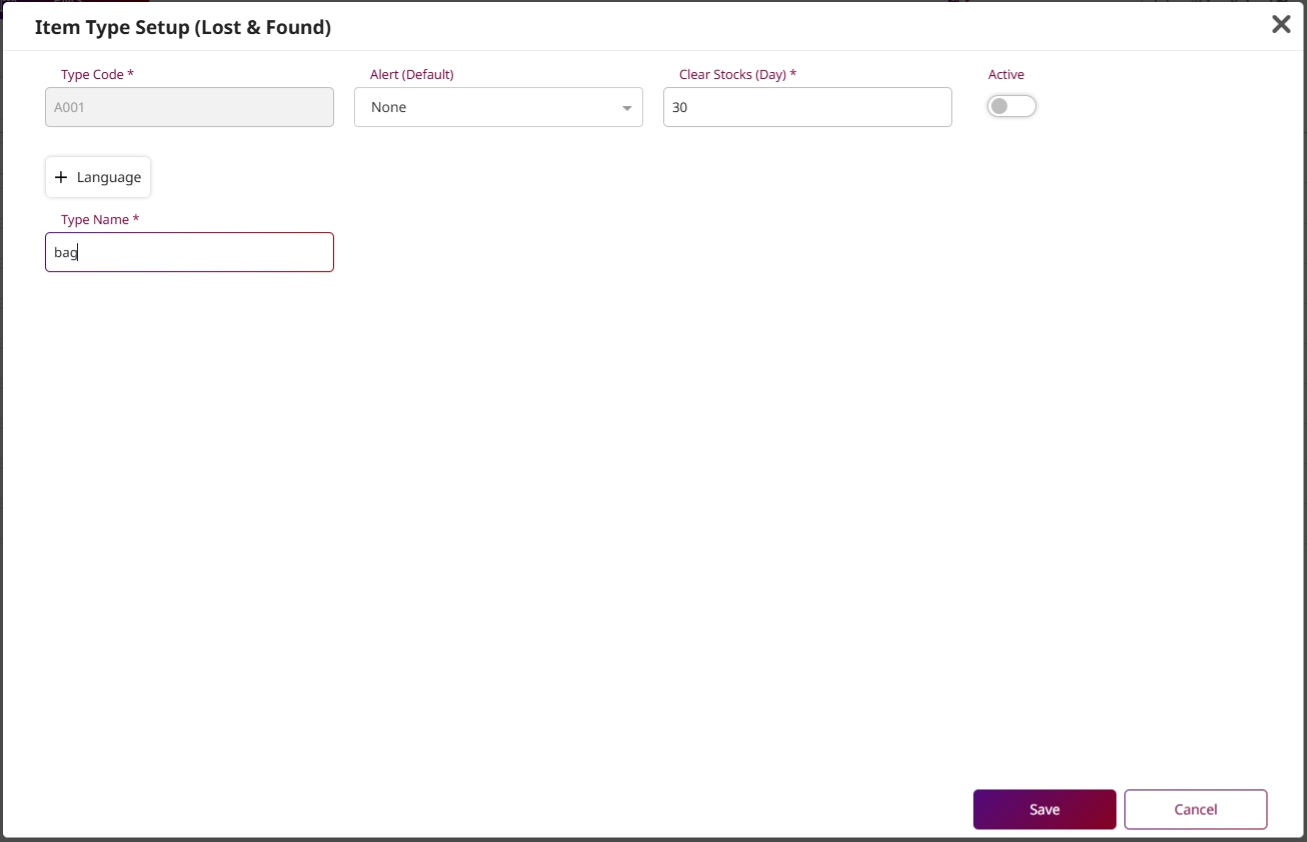
Note: Types configured here define classification and alert duration for each item category.
3. New Lost & Found Record
Available under Lost & Found , this function allows staff to create a new record for lost or found items, link them to departments and locations, and mark the status accordingly.
To record a lost or found item:
- Click the ' New ' button in Lost & Found tab.
- Select the alert type.
- Click the search icon to select the relevant department.
- Choose one or more departments and click 'Select'.
- Select the location (Room or Common Area).
- Enter the area, guest name, and telephone number.
- Click the '+' icon to add item details.
- Select the item type, enter the name and remarks.
- Use '+' or '-' to adjust quantity. Click 'x' to clear or trash icon to delete.
- Enter notes and upload a picture if applicable.
- Click ' Lost ' to mark as lost or ' Found ' to mark as found.
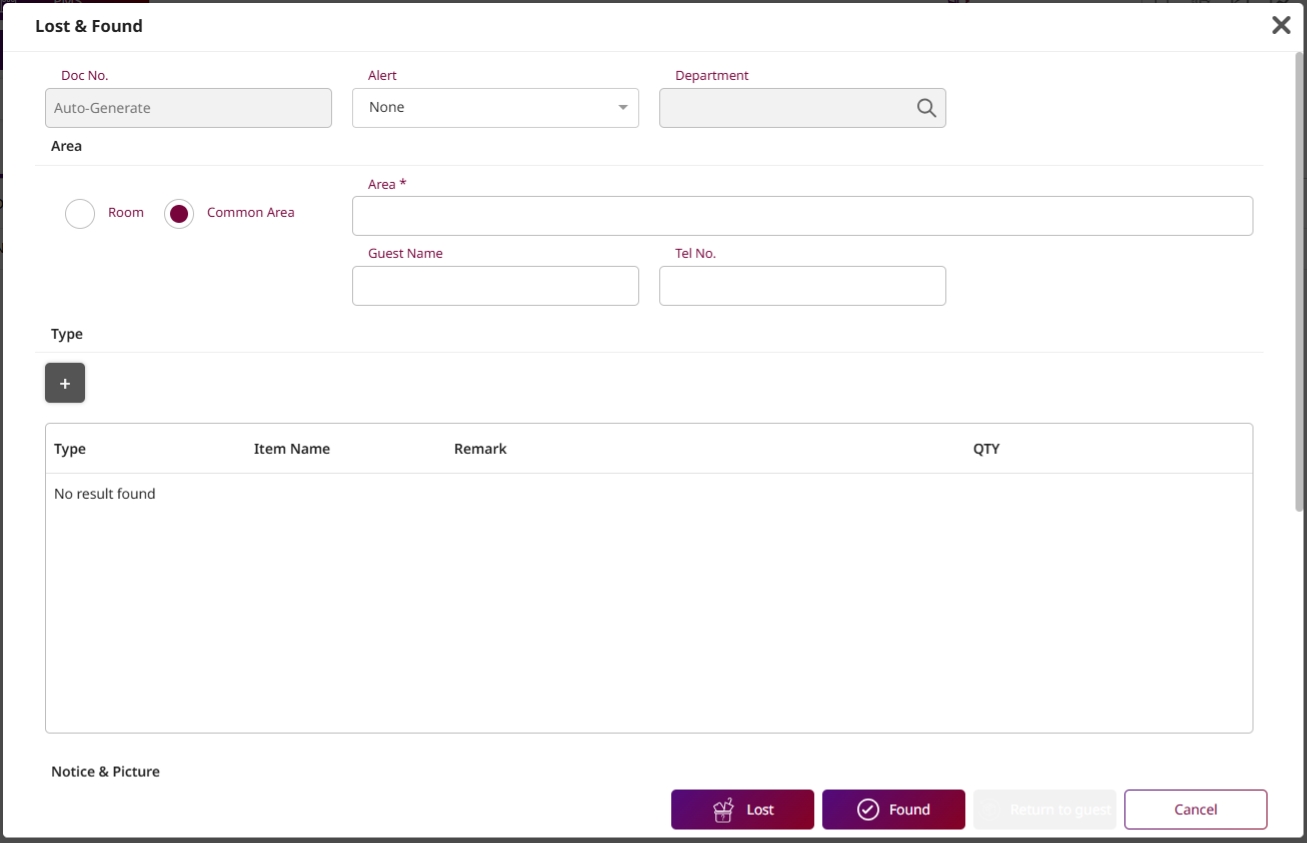
Note: Records will appear with the selected status and can be updated later if needed.
4. Delete Lost & Found Item Type
Available under Lost & Found > Type Setup , this function allows staff to delete existing item type categories that are no longer required in the system.
To delete an item type:
Select the item from the list. Click the ' Delete ' button. Confirm the deletion in the pop-up dialog by clicking 'Delete'.